15 months later, I finally finished my Louqe RAW S1
Introduction
I bought my Louqe RAW S1 when it went on sale in November 2022. I just finished building it a week ago. Getting it to where I wanted took designing and 3D printing 6 different parts (3 of which were sent out for fabrication in steel as a group buy) and countless more hours testing different parts to get the best thermal and noise performance. I’m relieved to finally be able to share the conclusion to this journey.
Steel Brackets
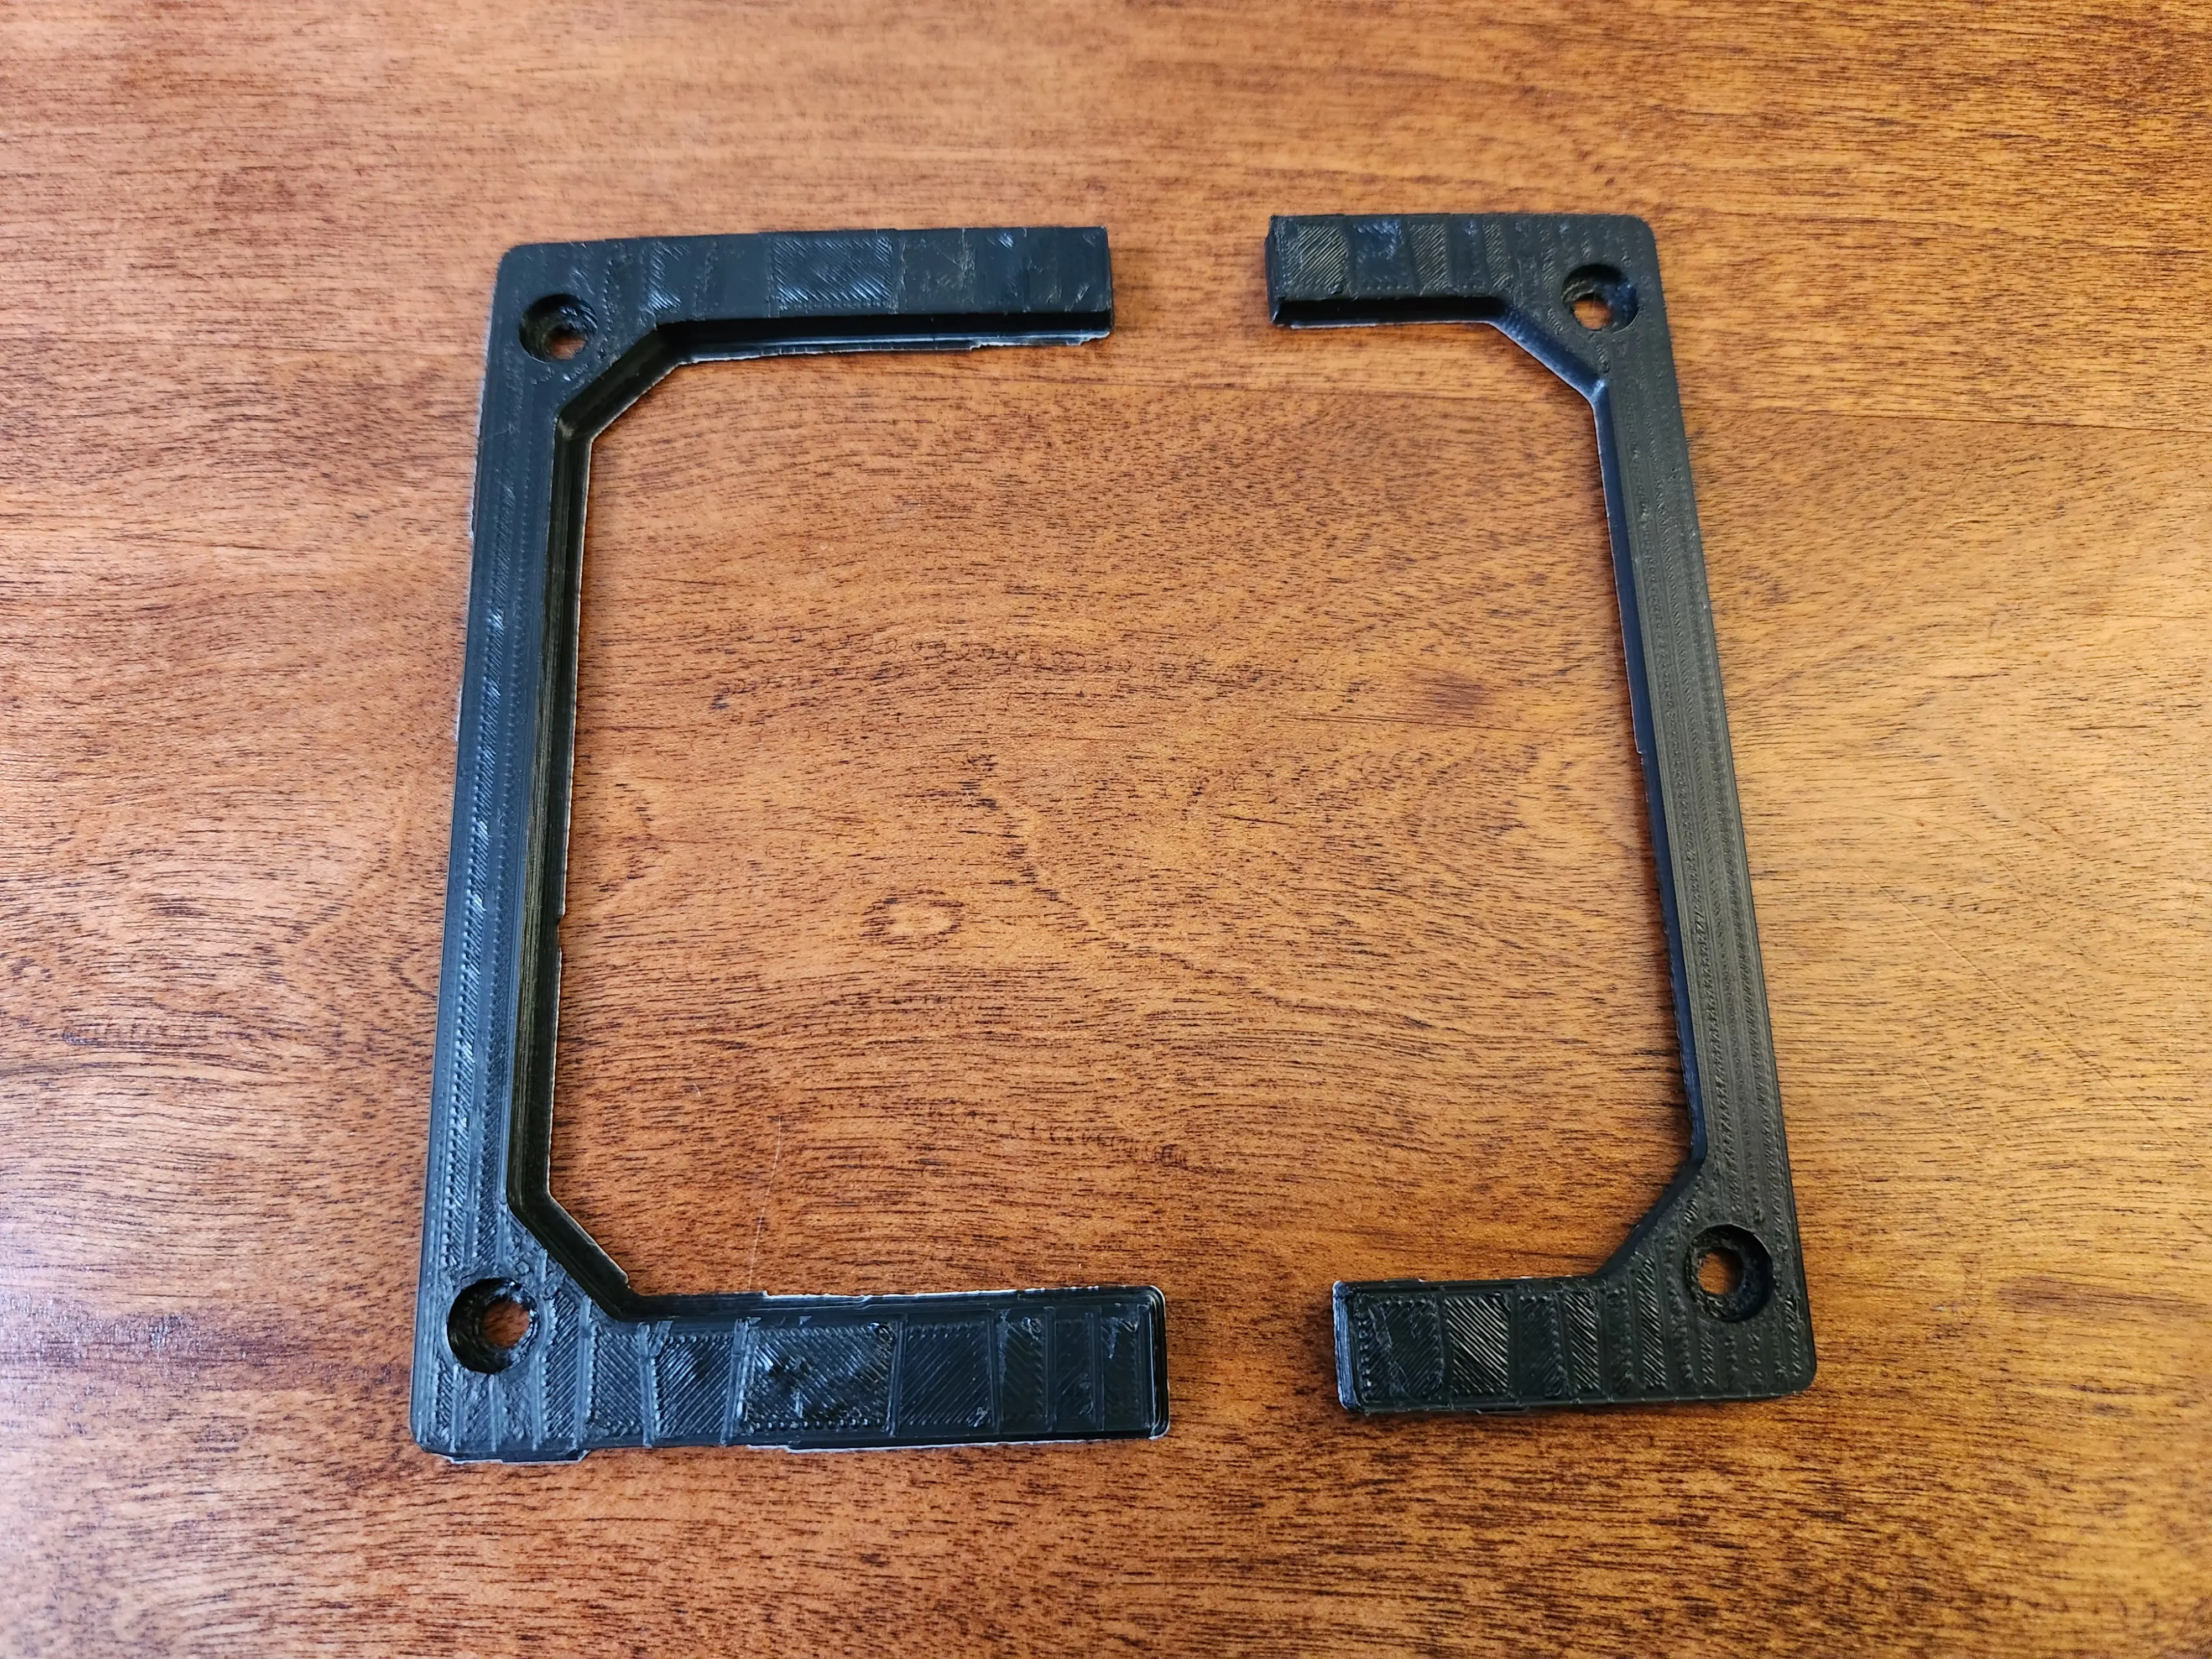
After designing and validating the improved exhaust fan and PSU brackets, I set up a group buy to have them manufactured in powder coated steel. We ended up having 20 participants, which brought the total cost of fabrication down to $30 per person. About half of that went to the unit cost of the brackets ($5 per each of 3), and the other half went to non-recurring engineering fees and shipping. I sent requests for quotes out to about a dozen manufacturers on Alibaba and ended up choosing an experienced one with lots of reviews and reasonable pricing. It was really interesting how responsive all of the companies were, even for a small order like this. I placed the final order in October 2023, and received all the brackets in January 2024. It was quite a while, but part of that was the additional shipping and turnaround time for getting a prototype sent to me for validation. I 3D printed them all first, but the plastic is much more flexible than steel, so I wanted to make sure everything still worked when they were manufactured. The PSU bracket especially was a concern because the plastic flexed a lot under the weight. I did end up making a few small tolerance and clearance adjustments after getting the prototype, but a big part of it was also just making sure the quality was good. And I was pretty impressed. They turned out quite nicely.
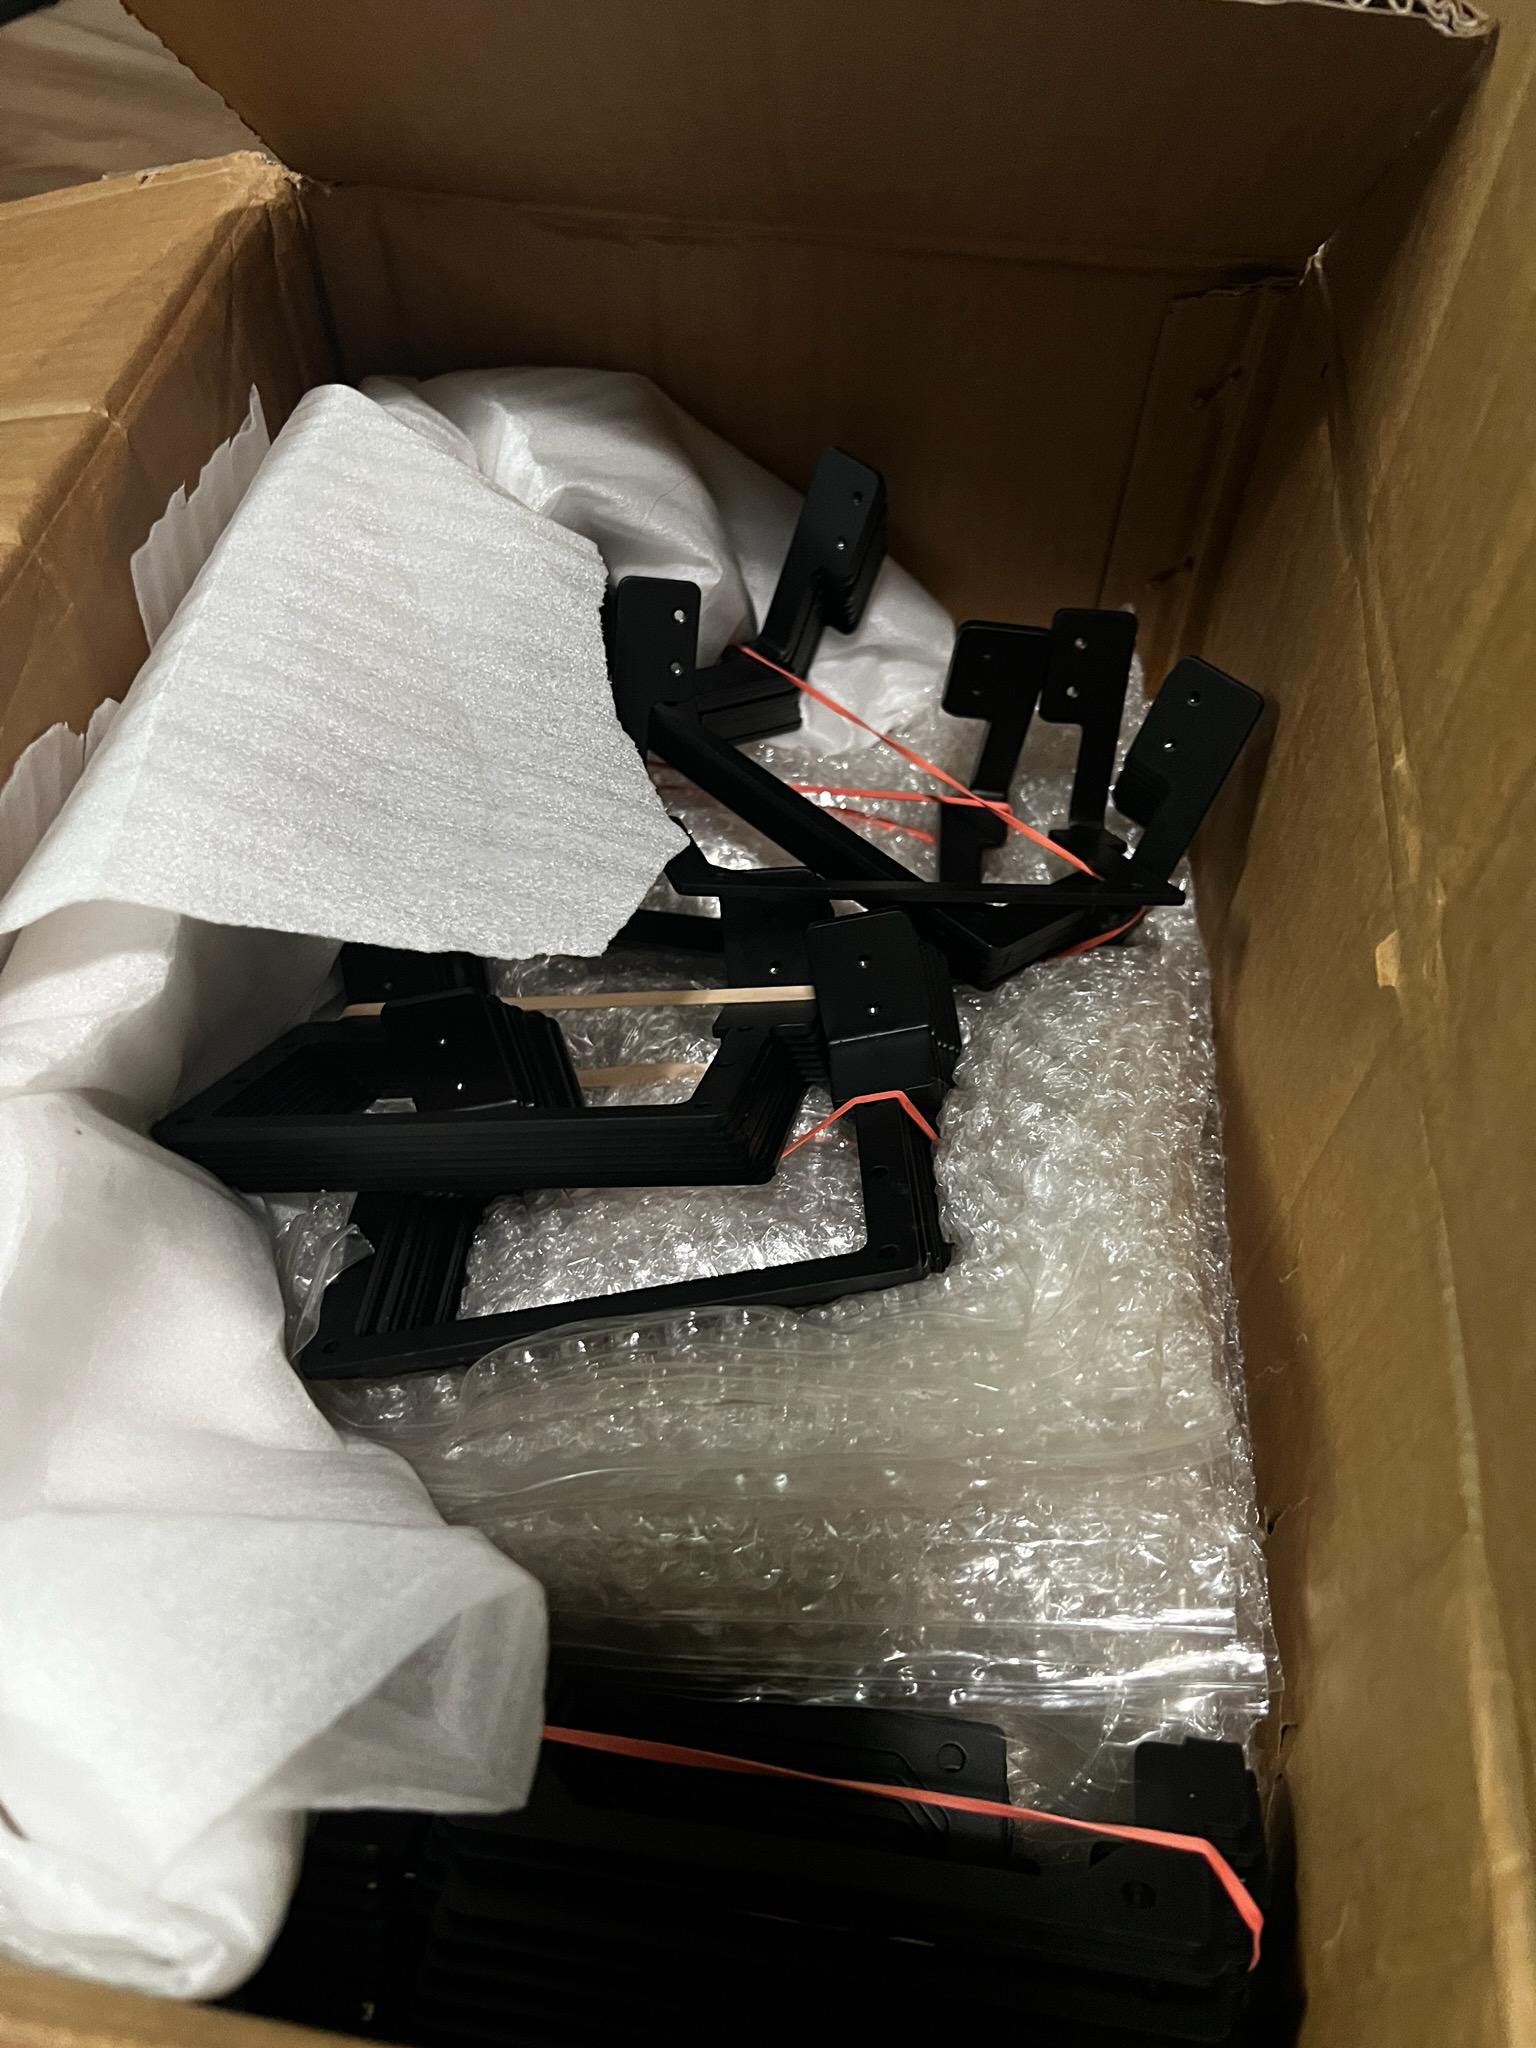
The first protopyes I received
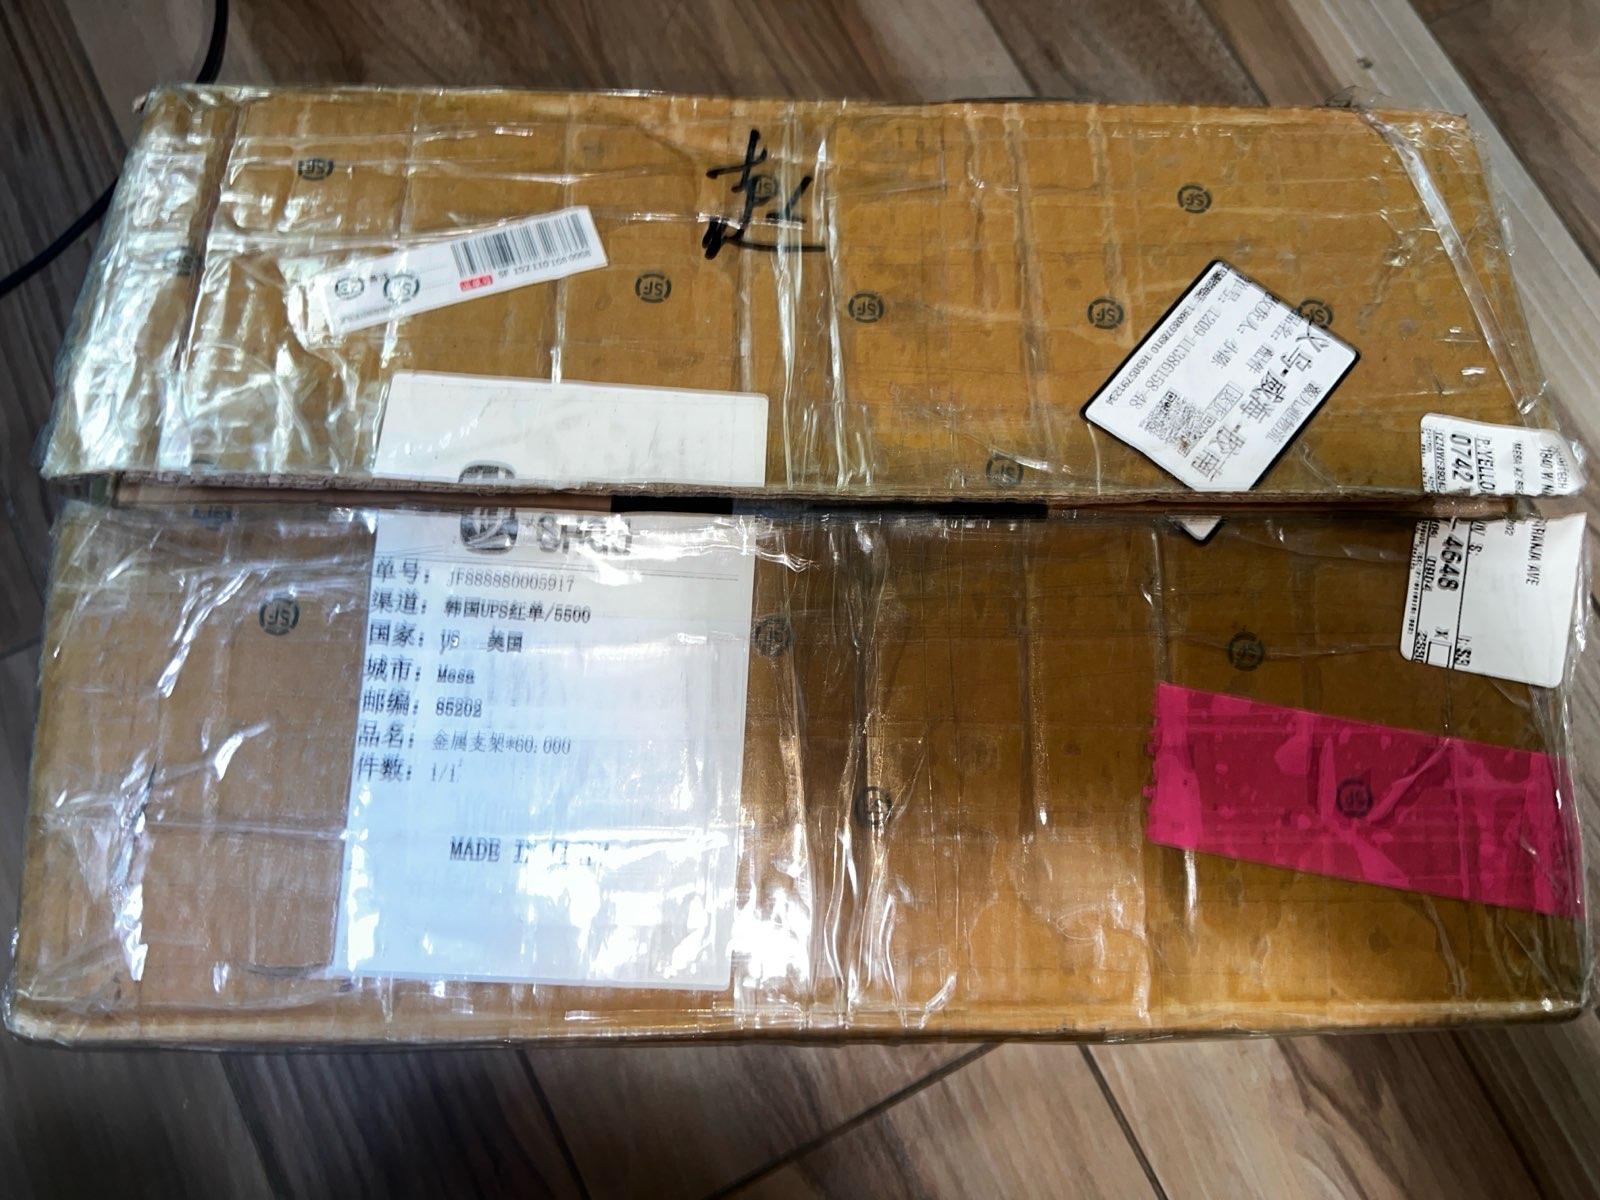
Package delivered!
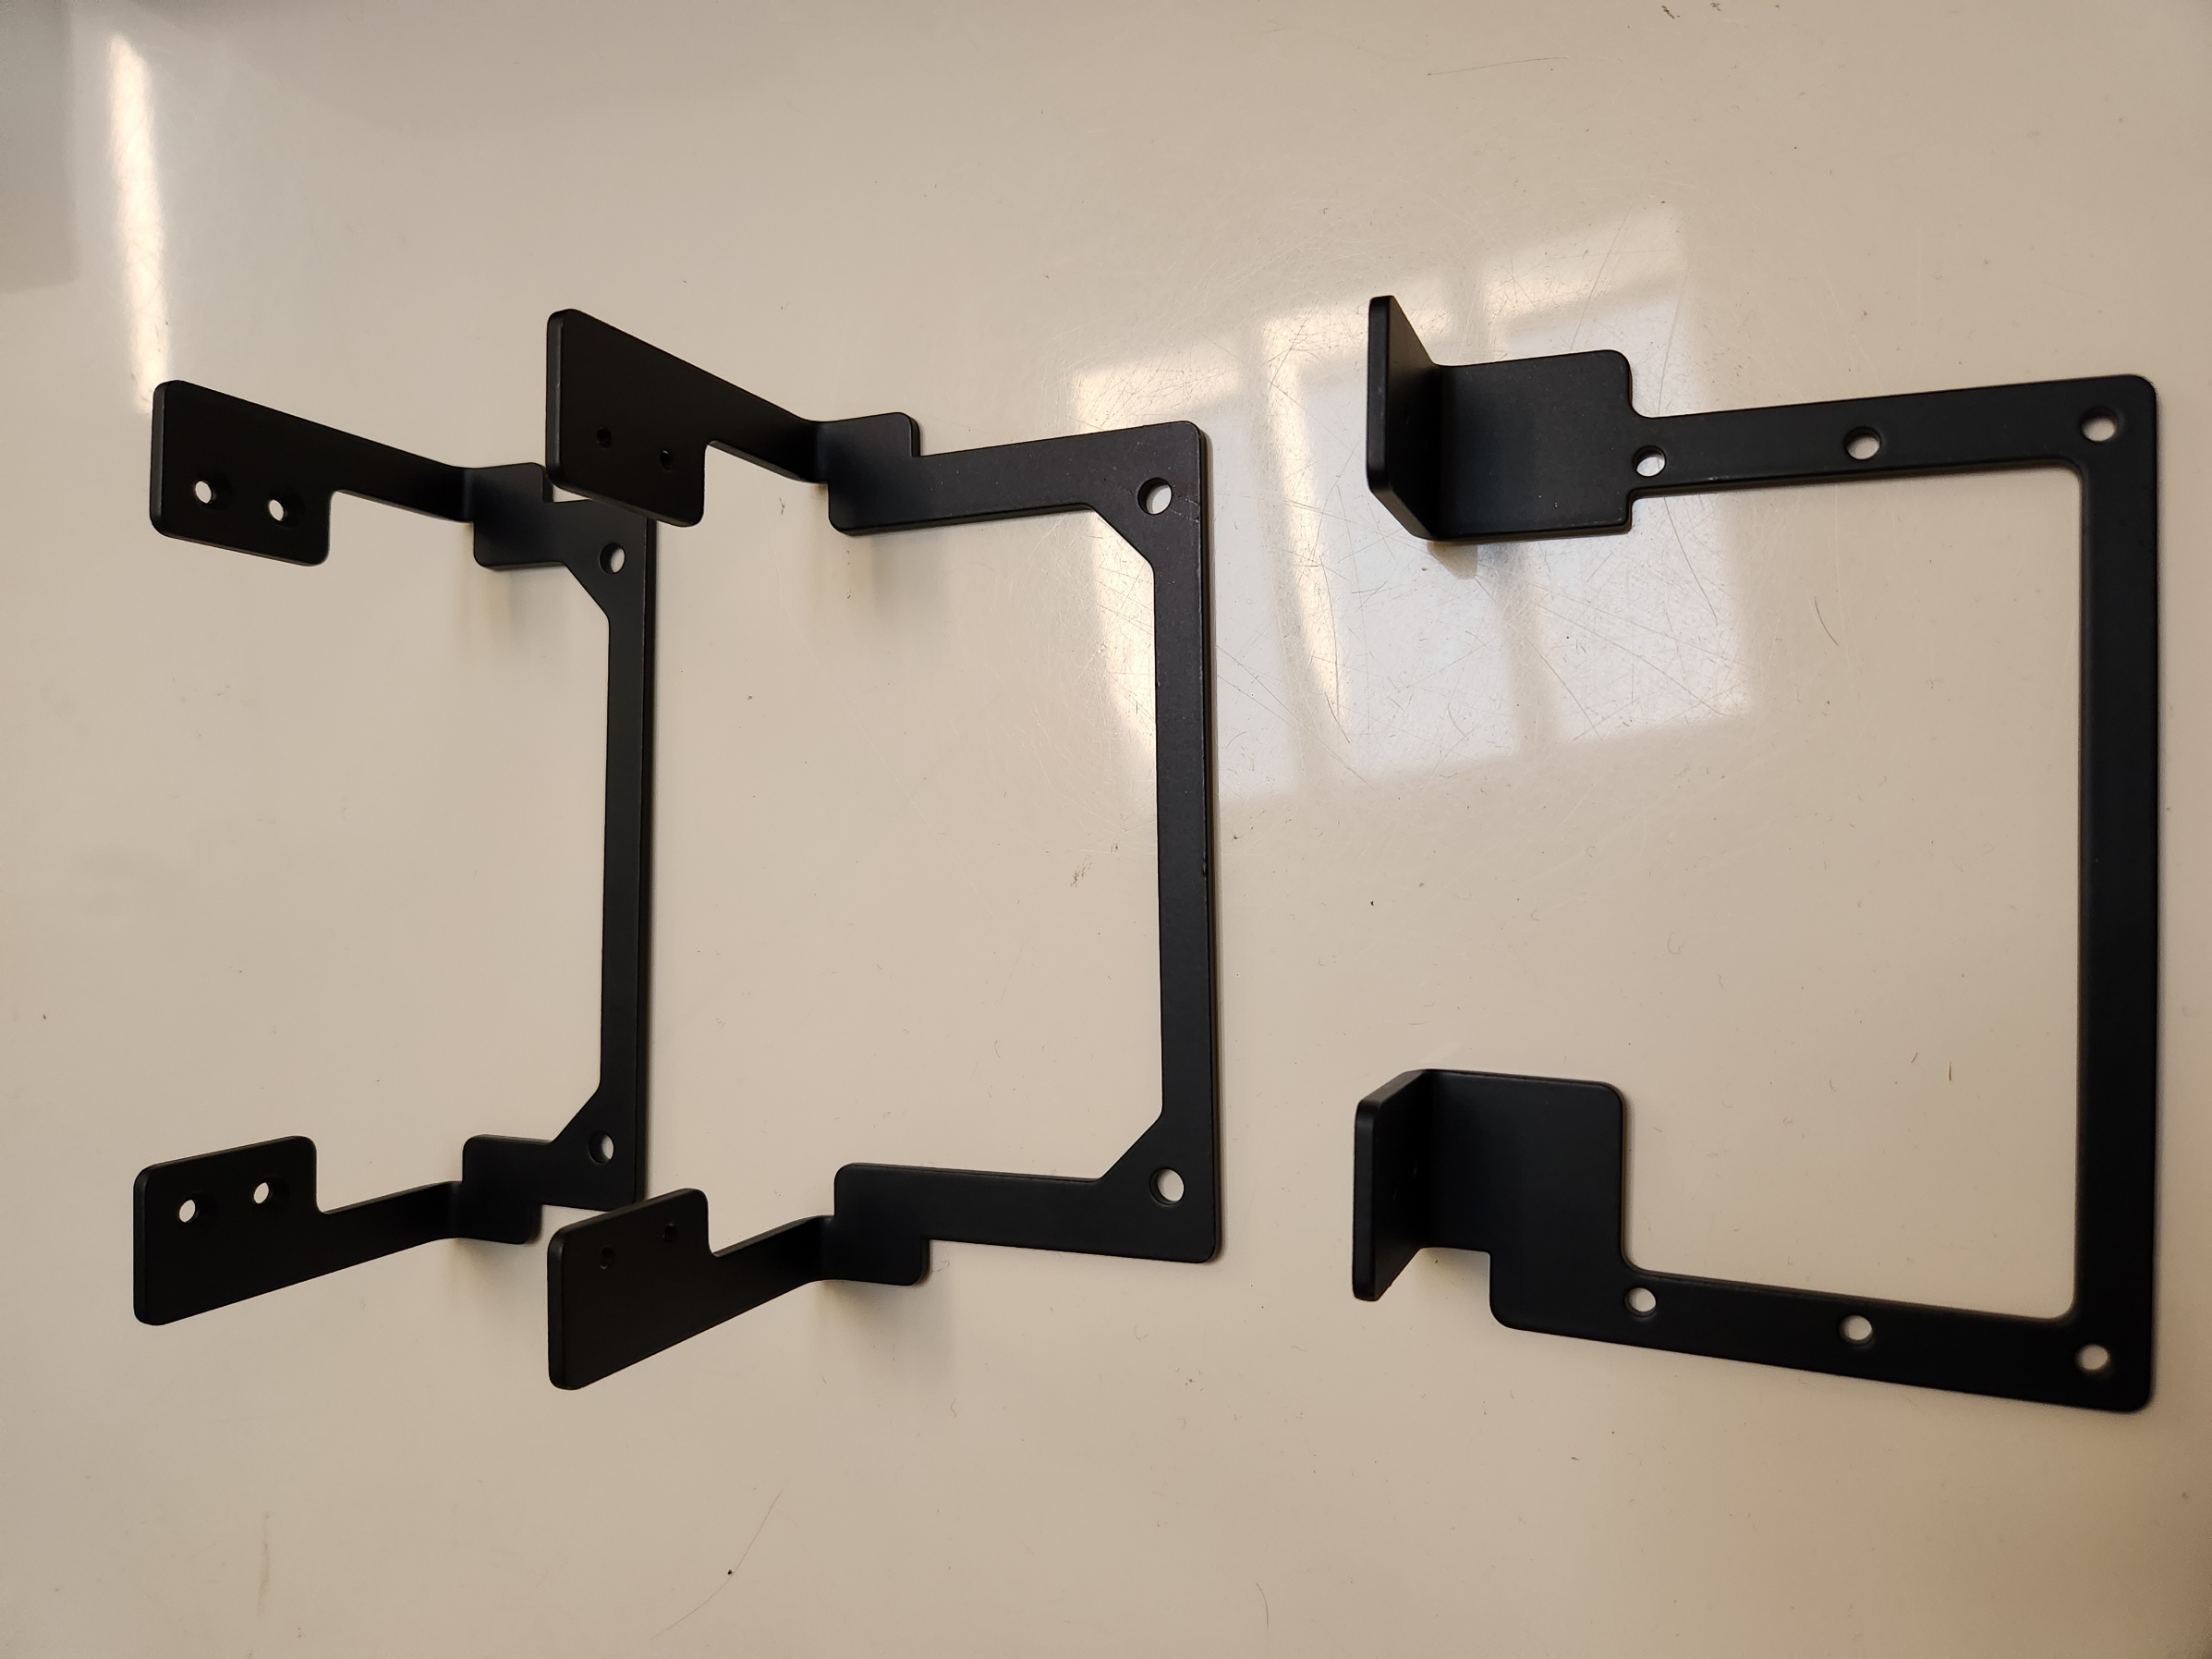
60 pieces in total
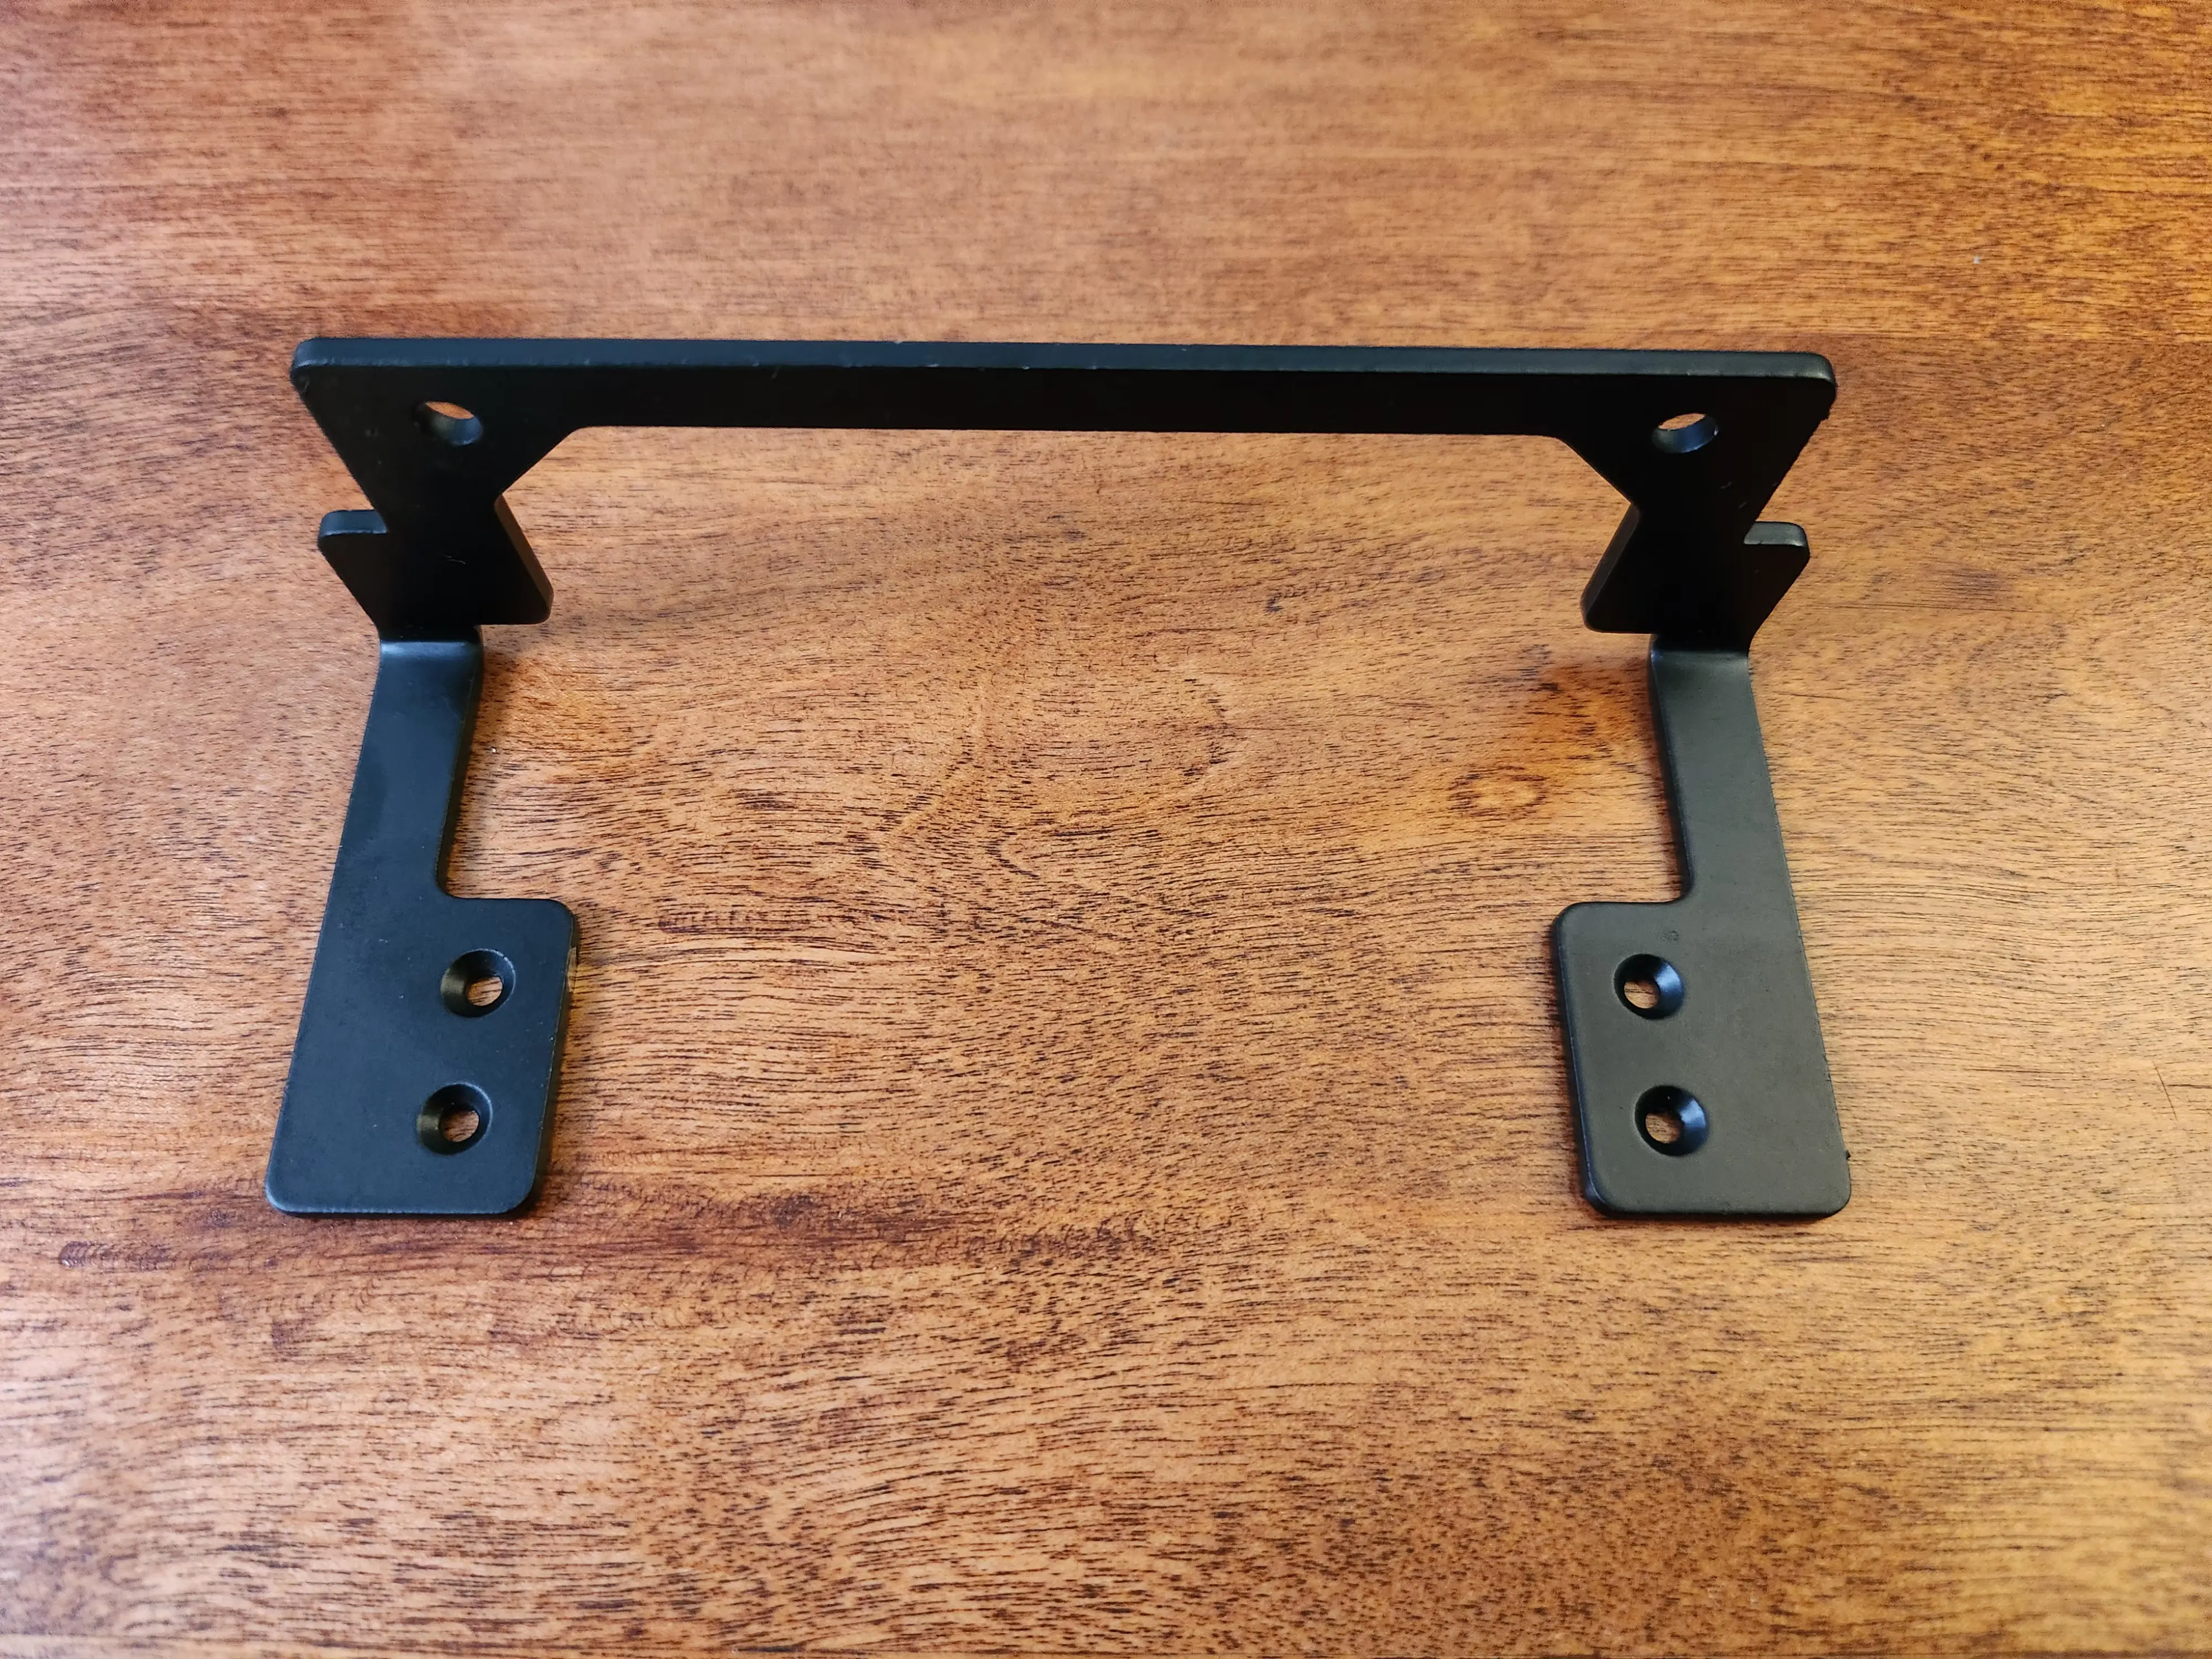
Exhaust Fan Bracket (GPU side)
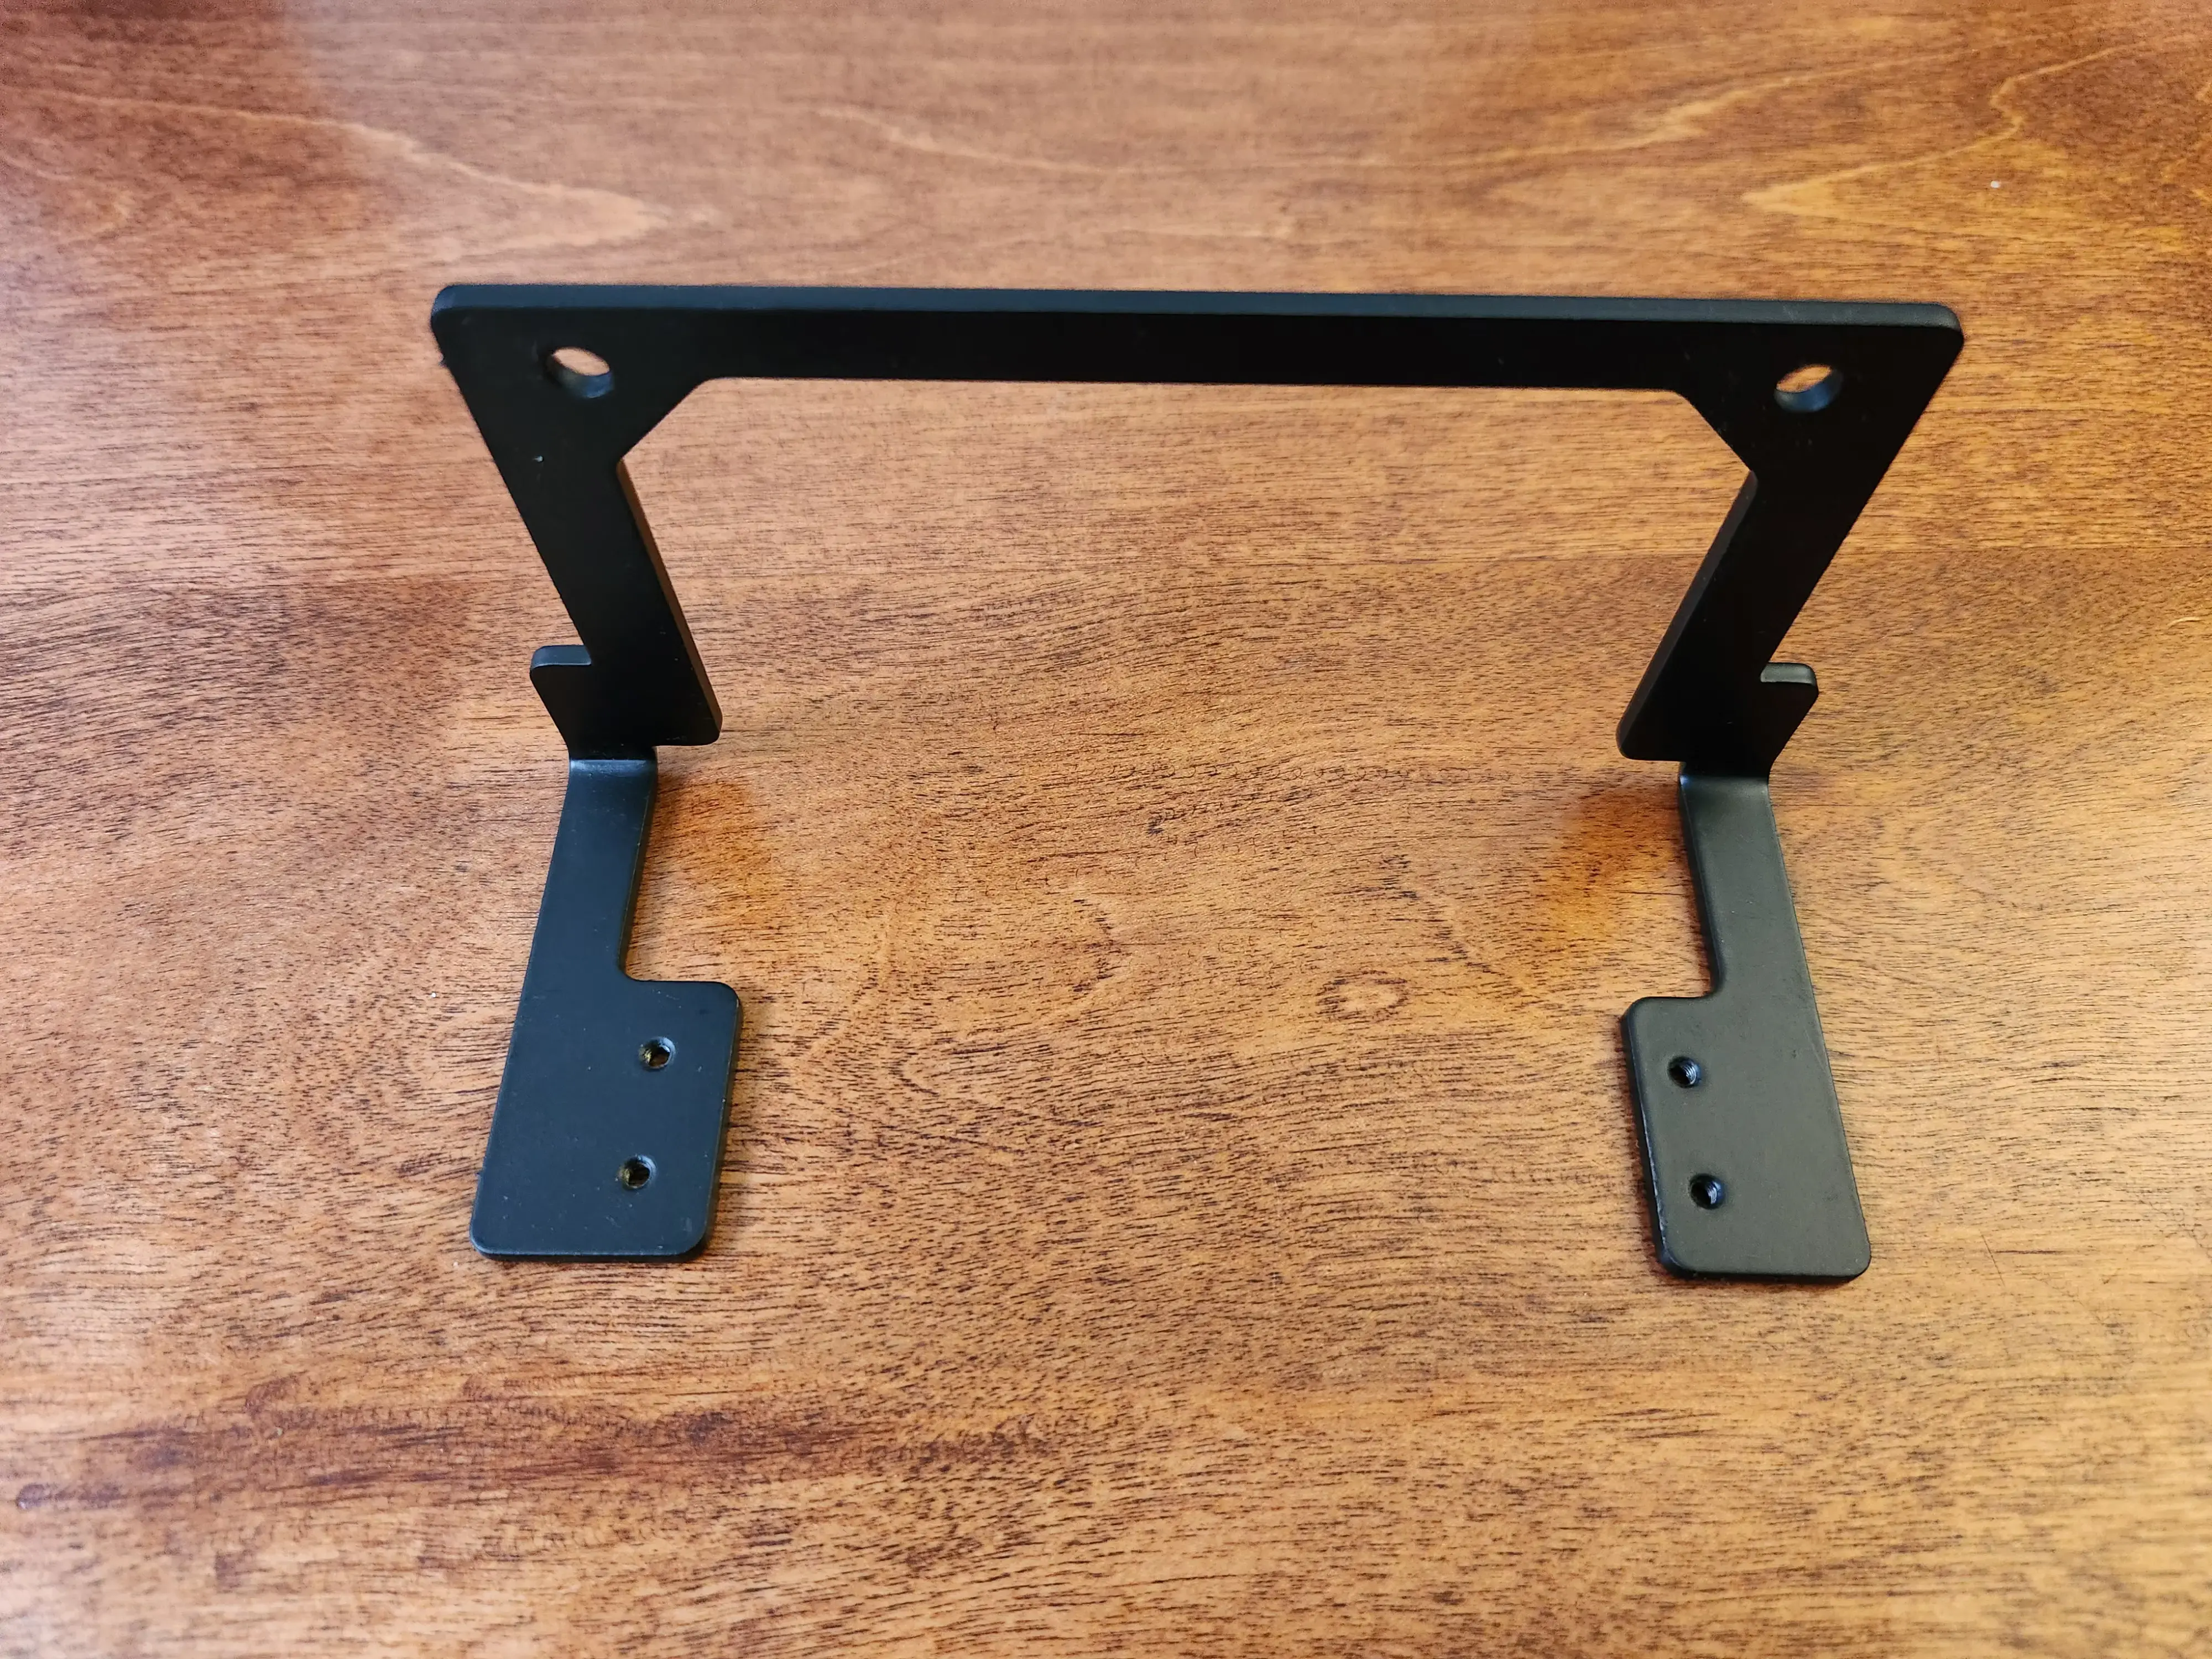
Exhaust Fan Bracket (Mobo side)
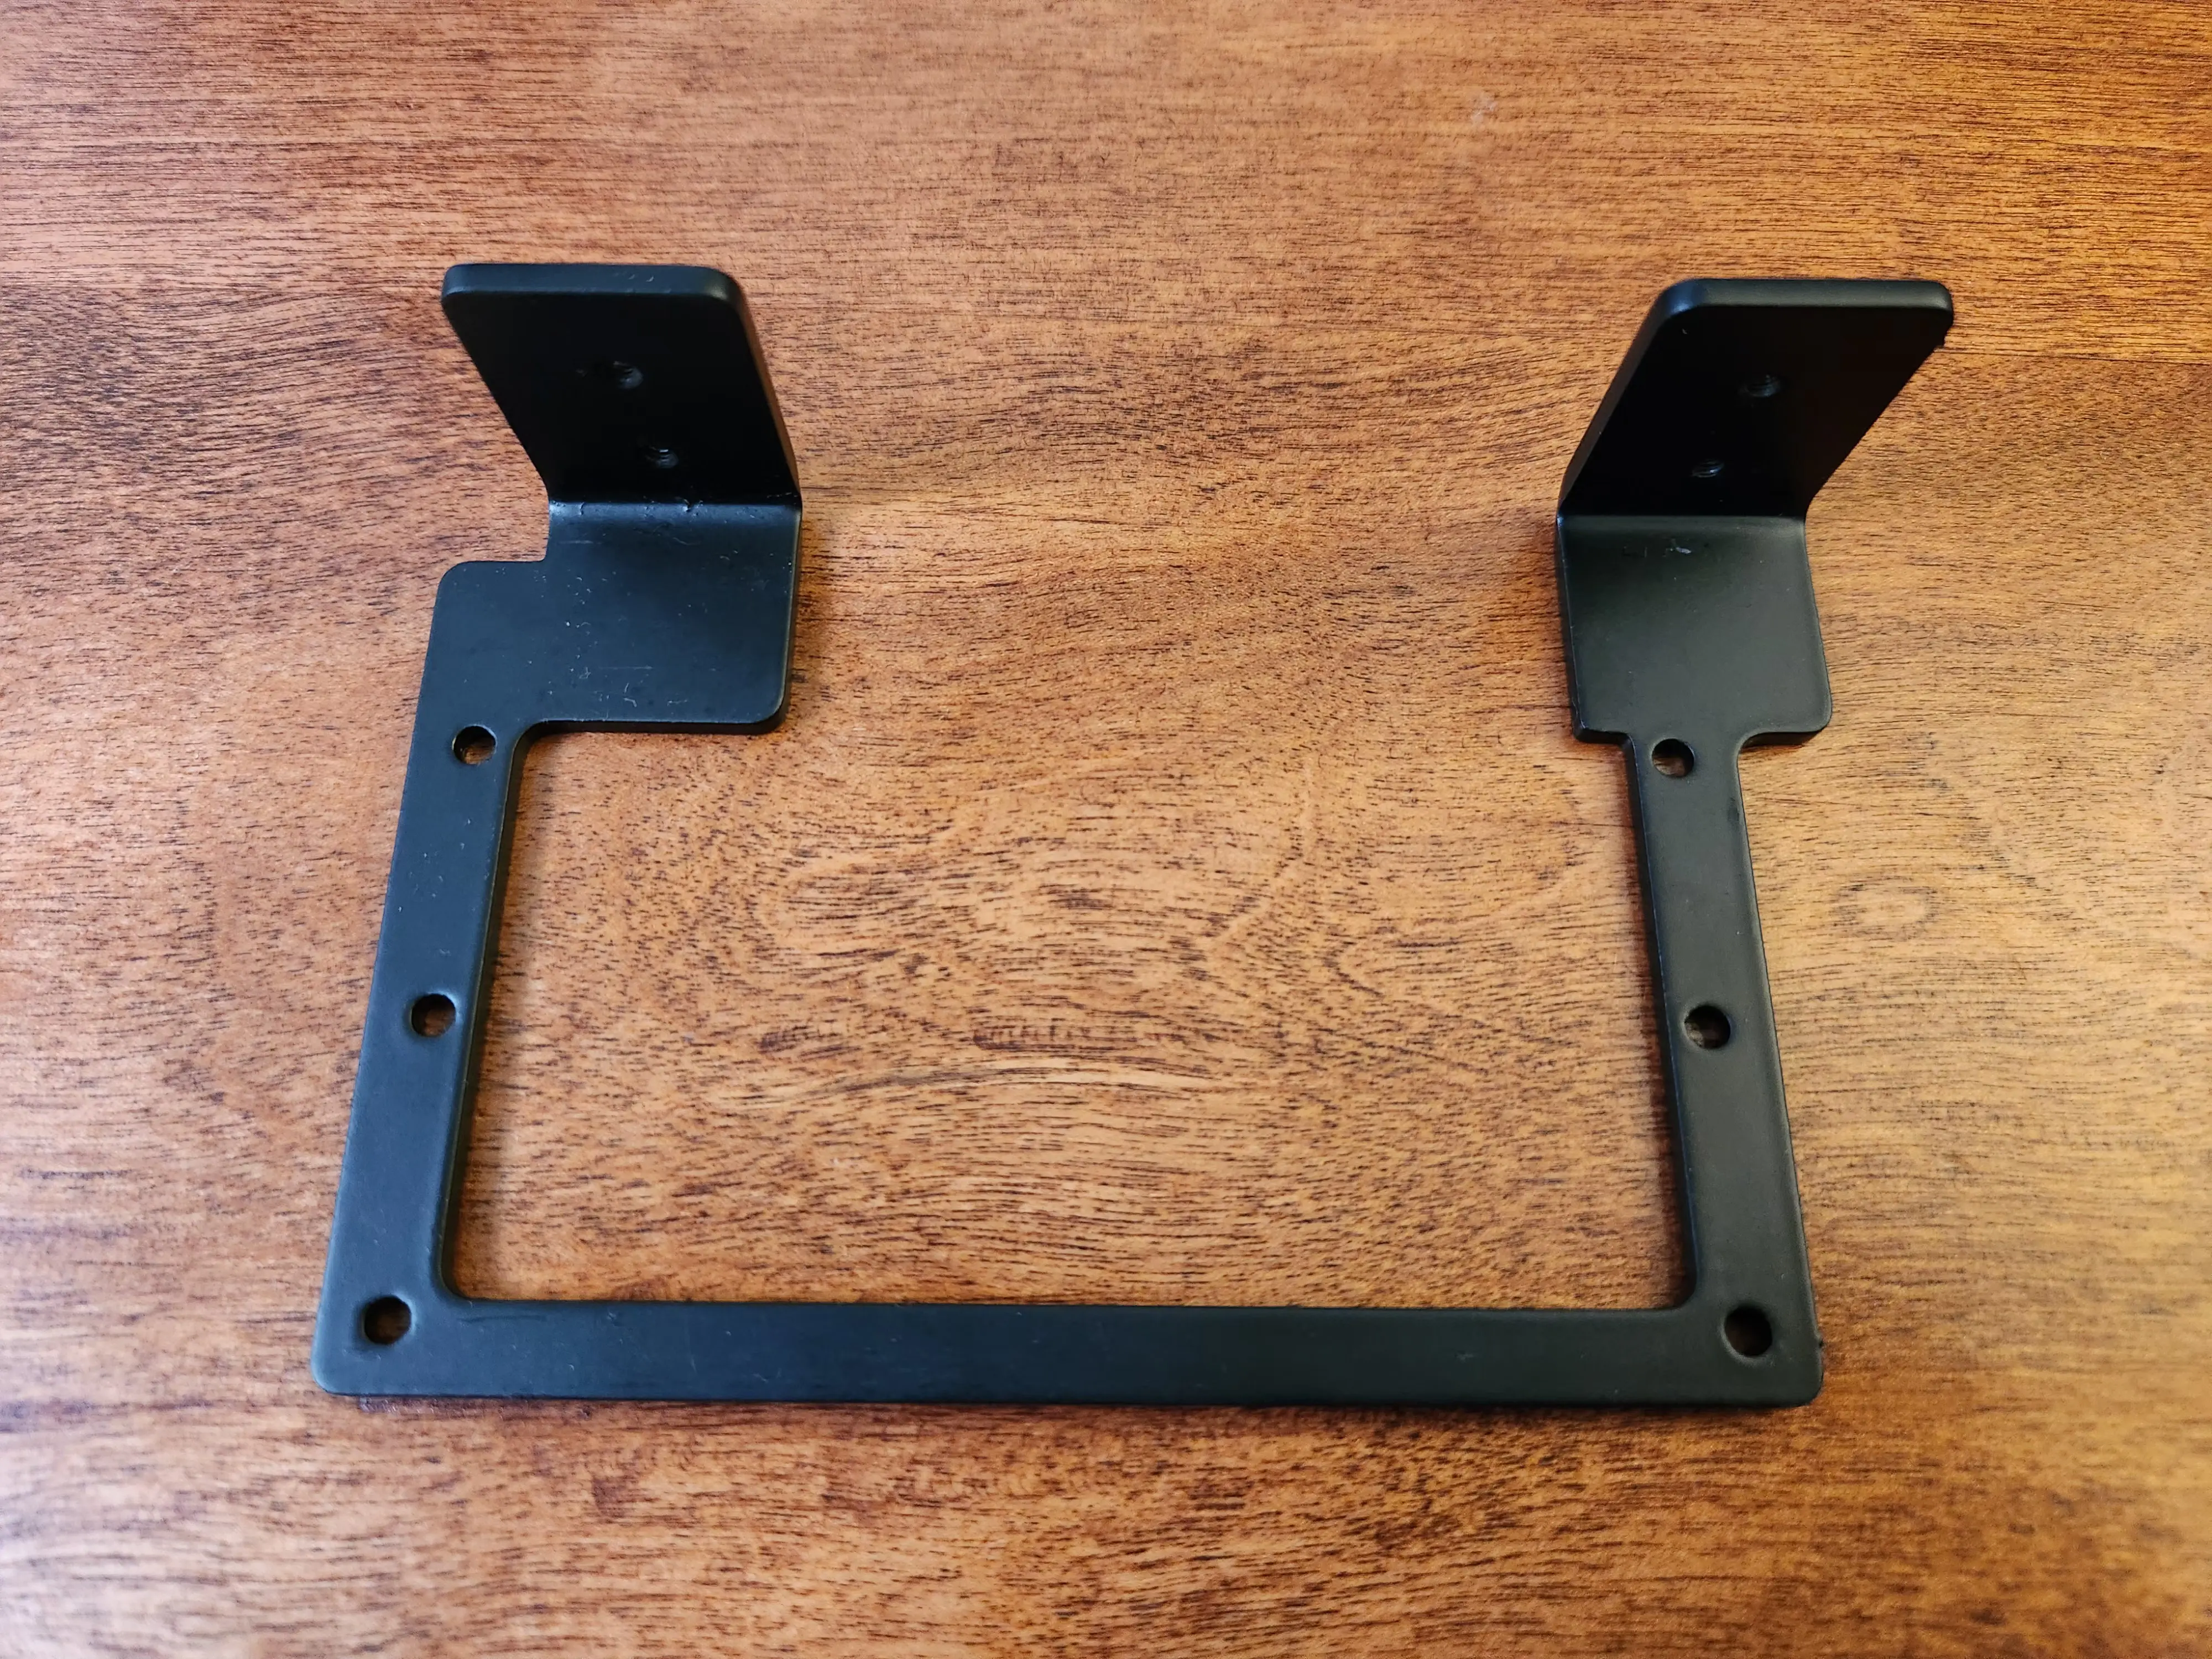
PSU Bracket
Gaskets
One of the main mods that is essentially necessary for the RAW S1 to be functional is the exhaust fan gasket. This seals the exhaust fan to the shell of the case, forcing the hot air out instead of letting it circulate inside the case. With the stock brackets, you had to install the fan, then cut the middle out of the gasket and stick it to the fan directly. This was a bit of a pain because the edges of the fan are so thin, the gasket doesn’t adhere very well, and putting the shell on can rip it off. Also, if you ever want to take the fan out (as I did many times while doing thermal benchmarks), you have to take the gasket off.
With the new brackets, this became much easier. I designed two plastic gasket pieces that attach to the bracket instead of the fan, and they were sized perfectly to close the gap between the shell and the bracket, taking the curve of the shell into account. Getting the sizing right was a hug pain because it was so difficult to measure the gap between the bracket and the curve of the shell. I must’ve printed these things a half dozen times making tiny adustments each time but I never got it right. Finally I mentioned the struggle to my wife, who told me I was a stupid engineer and any artist would immediately know the solution is to trace it. She was right. I printed one that was way too thick, let the shell sit on top of it, and traced it. I measured that, put the numbers in, and printed it. Done.
With manufacturing of the brackets taking so long, I was able to print a set of gaskets for everyone who participated in the group buy. I am still a 3D printing novice, but by the time I got to these gaskets, I was pretty comfortable printing PLA, which is one of the easiest materials to work with. Unfortunately, PLA is not very heat resistant, and it would warp under the heat of the exhaust air. I bought some ABS filament, which is much better in terms of heat resistance, but that very property makes it much harder to print. In the end, it took getting a 3D printer enclosure and new printing bed for things to come out right, and it was really satisfying to have the printer running 24/7 for a couple of days to print 20 sets.
The gaskets are sized to leave about a 1.5mm gap between the shell and the gasket to account for any manufacturing differences, and some foam adhesive seals that gap. The foam compresses easily, so some 1/8" (~3mm) foam fits quite nicely. My sister-in-law has a Cricut, and she took an SVG of the outline of the gaskets and used it to cut a bunch of foam pieces to fit which I also sent along with the brackets and gaskets. These turned out really nicely, and I hope everyone in the group buy has a good experience putting it all together
3D Printed Exhaust Fan Gaskets
Louqe RAW S1 Fan Bracket Mod AssemblyAnother Gasket
I ended up deciding to go with the Shadow Rock LP cooler since it gave the best performance. Just like sticking a gasket to the exhaust fan, sticking foam directly to the CPU fan was a pain and kept peeling off since the contact area was so small. I designed and printed another gasket that sits on the fan and gives a bit more surface area for the foam to adhere to. It also matches the curve of the shell for a better seal.
Custom Gasket for a Shadow Rock LP with NF-A12x25
Get the mods yourself!
All of the pieces I designed and printed are available on thingiverse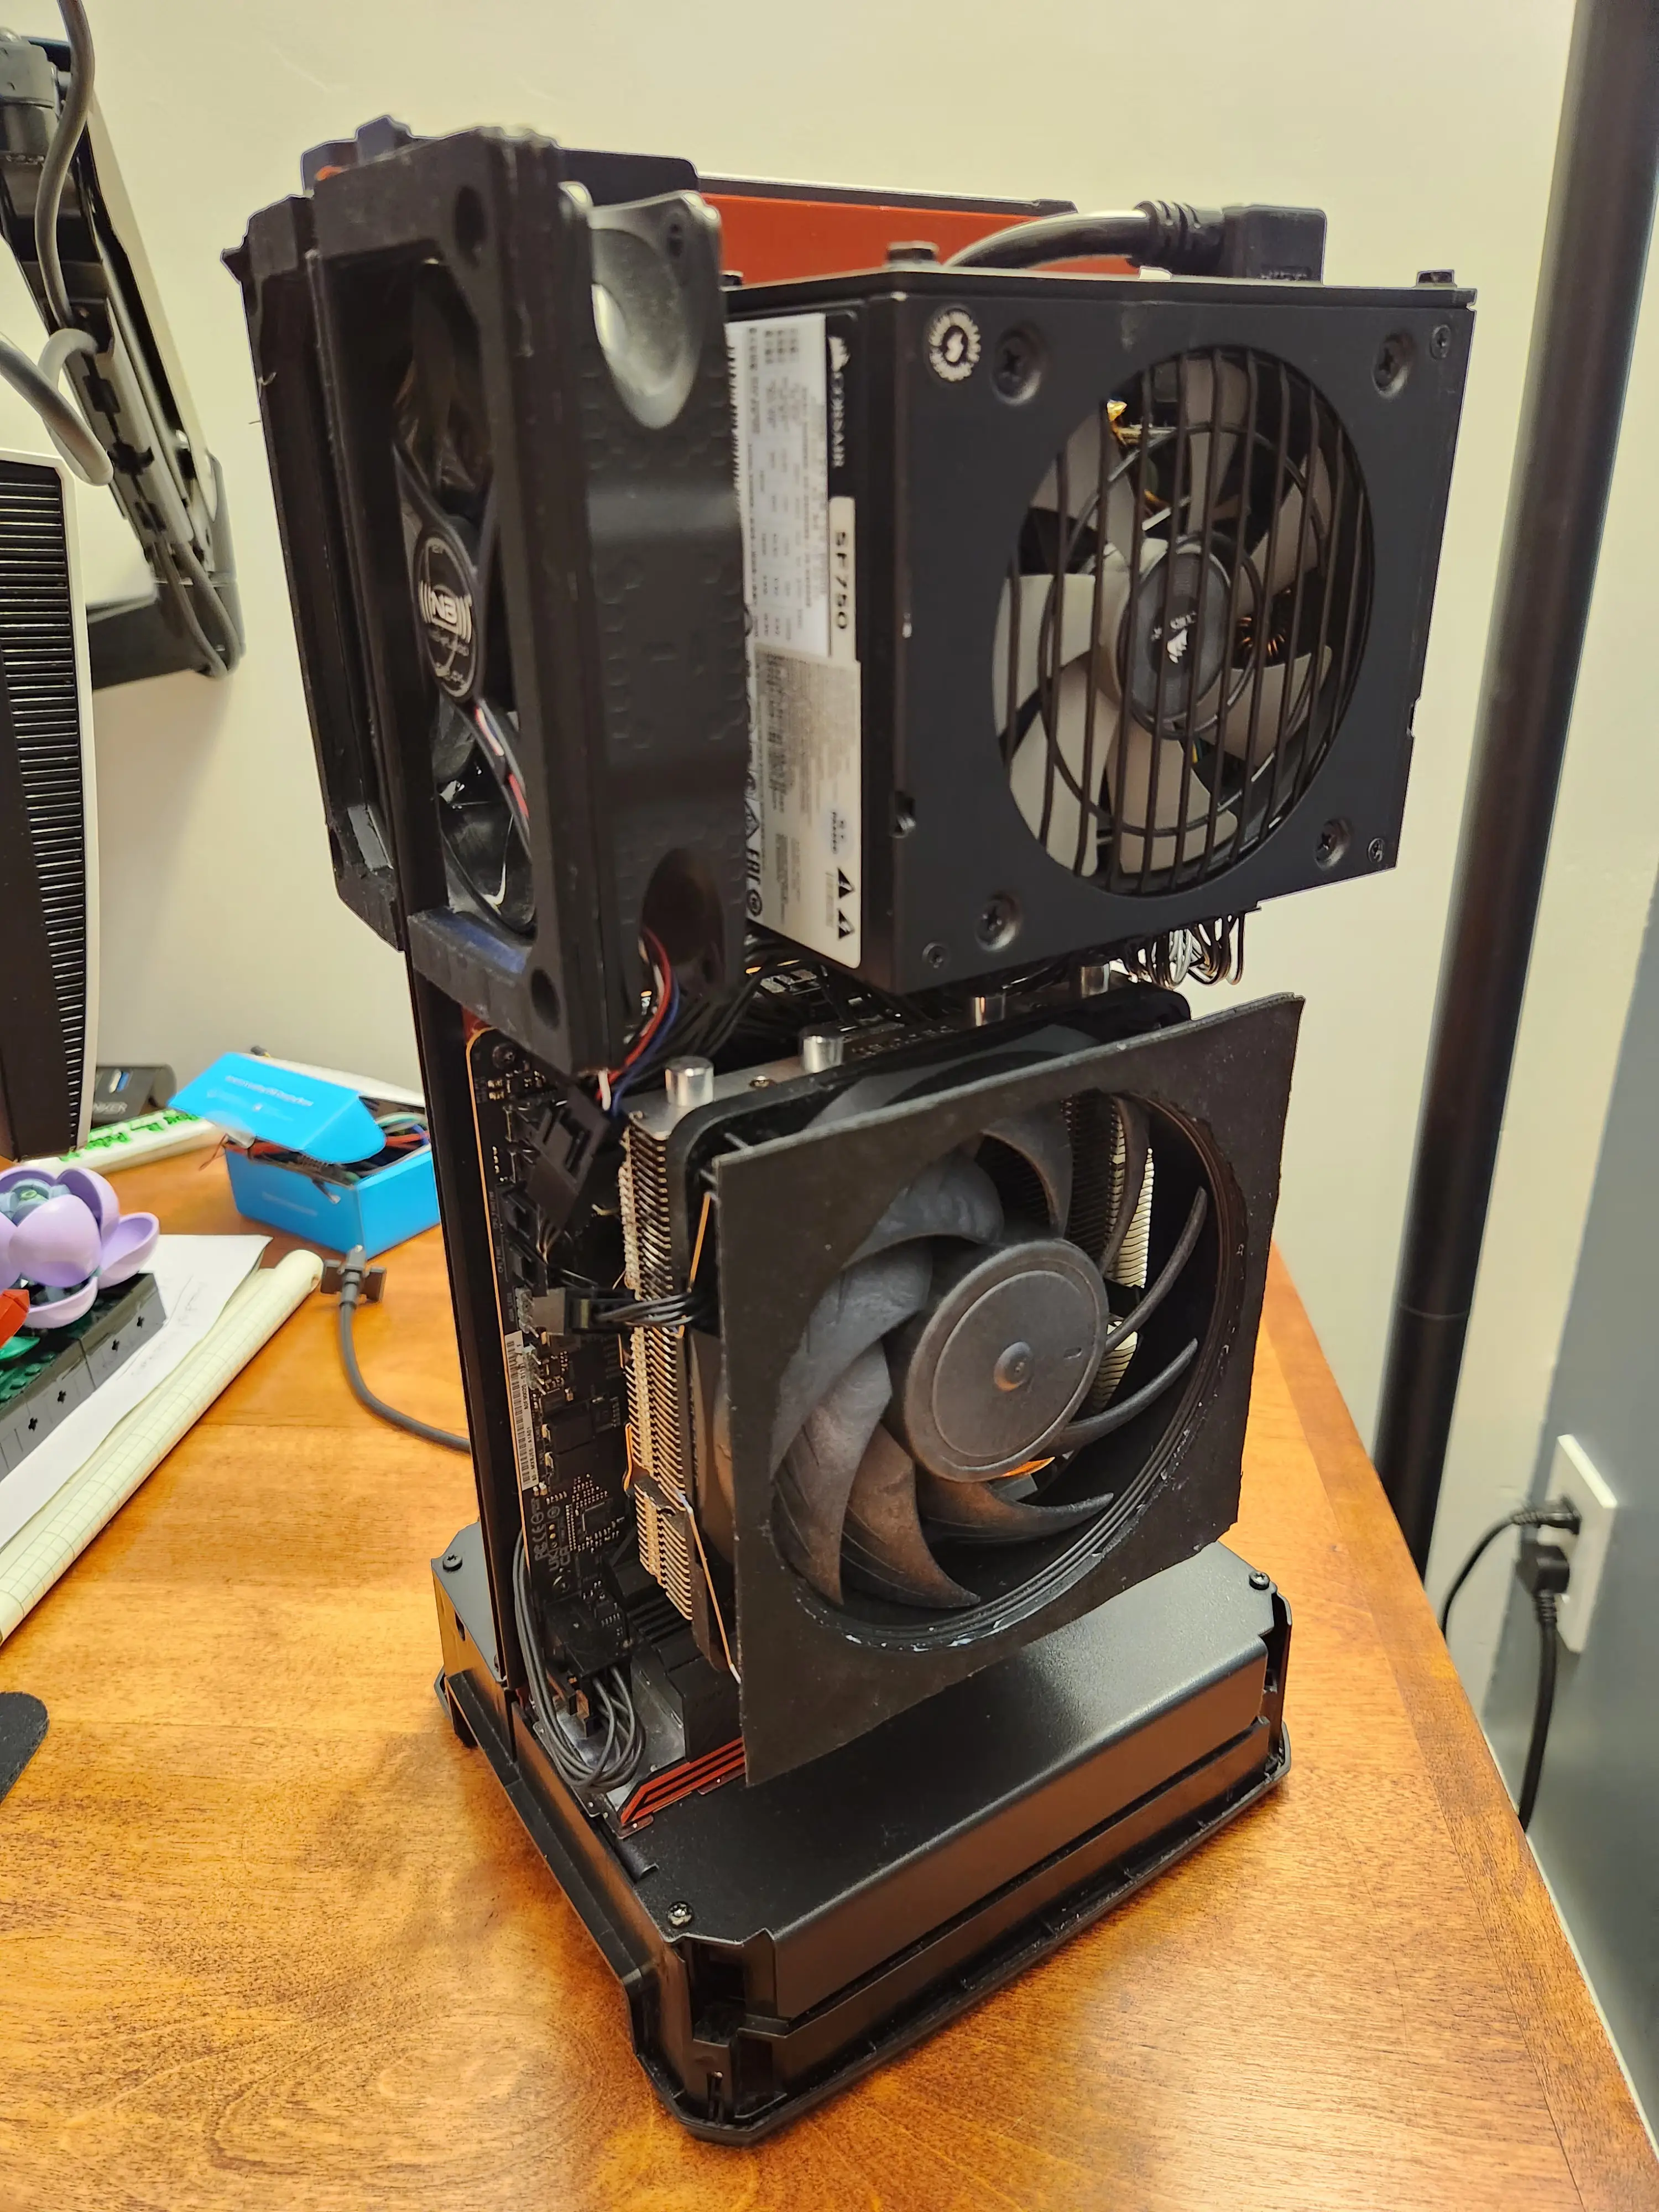
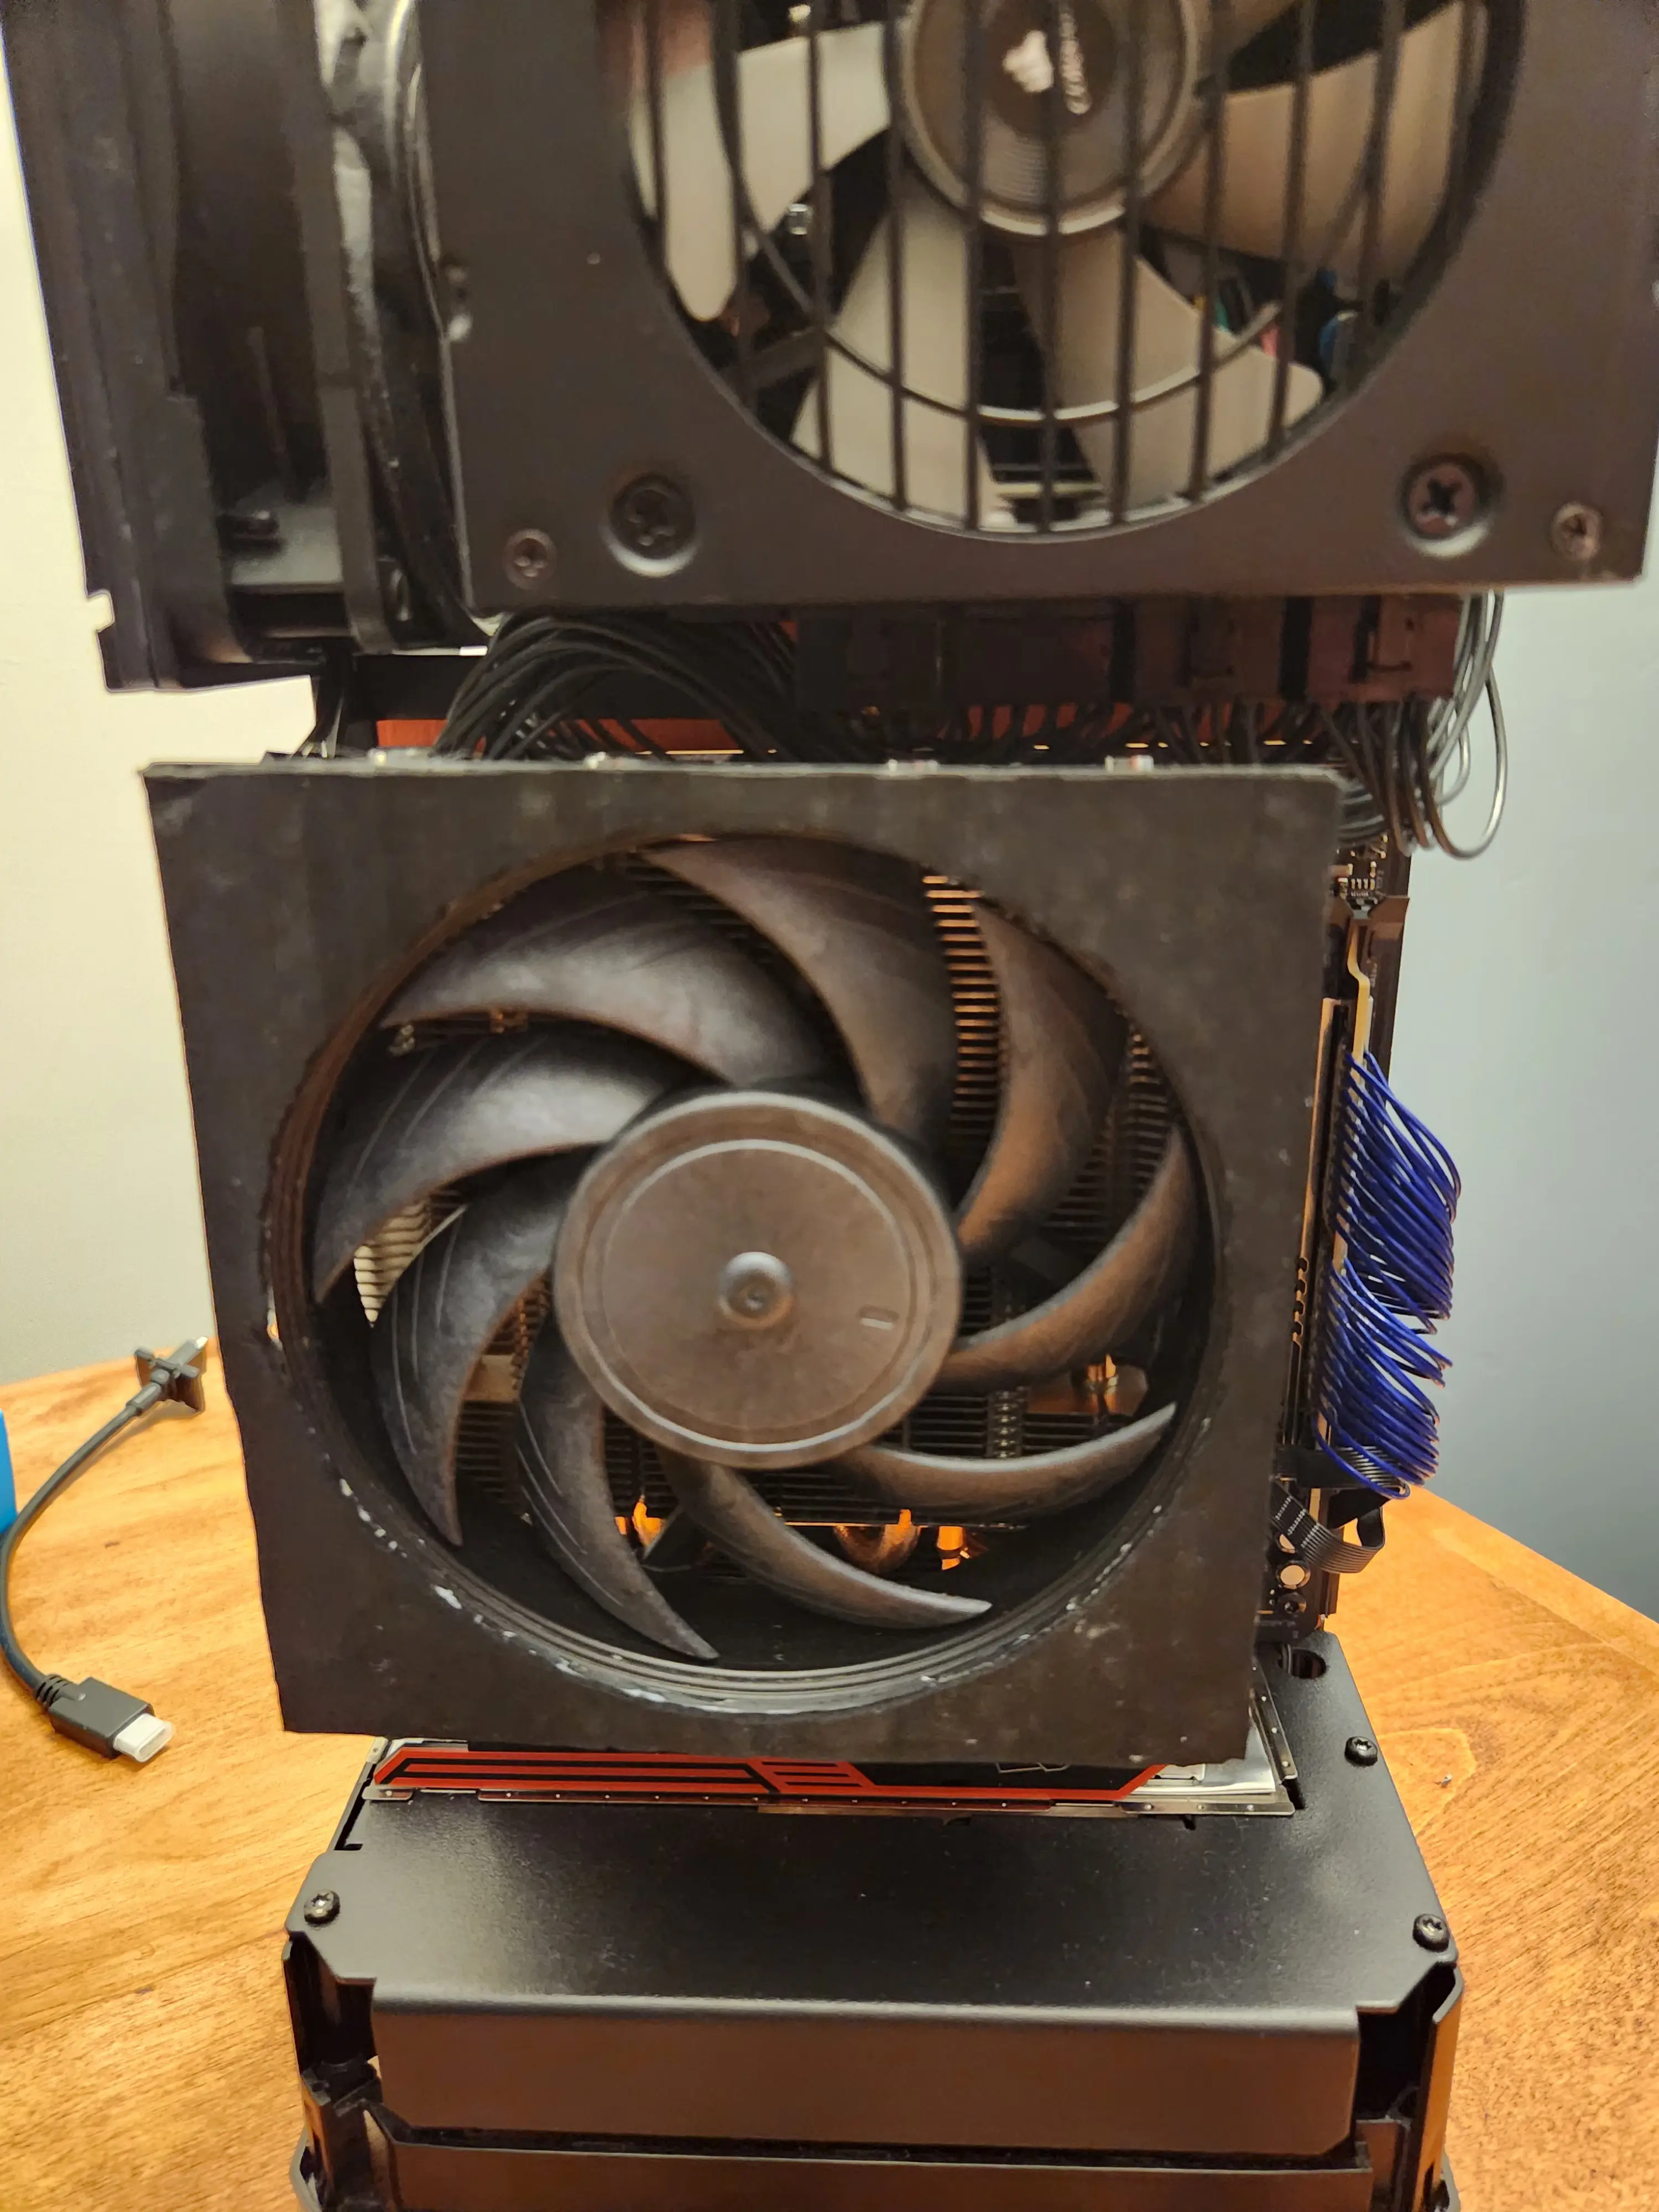
Final Assembly of the Motherboard Side
A Bigger GPU
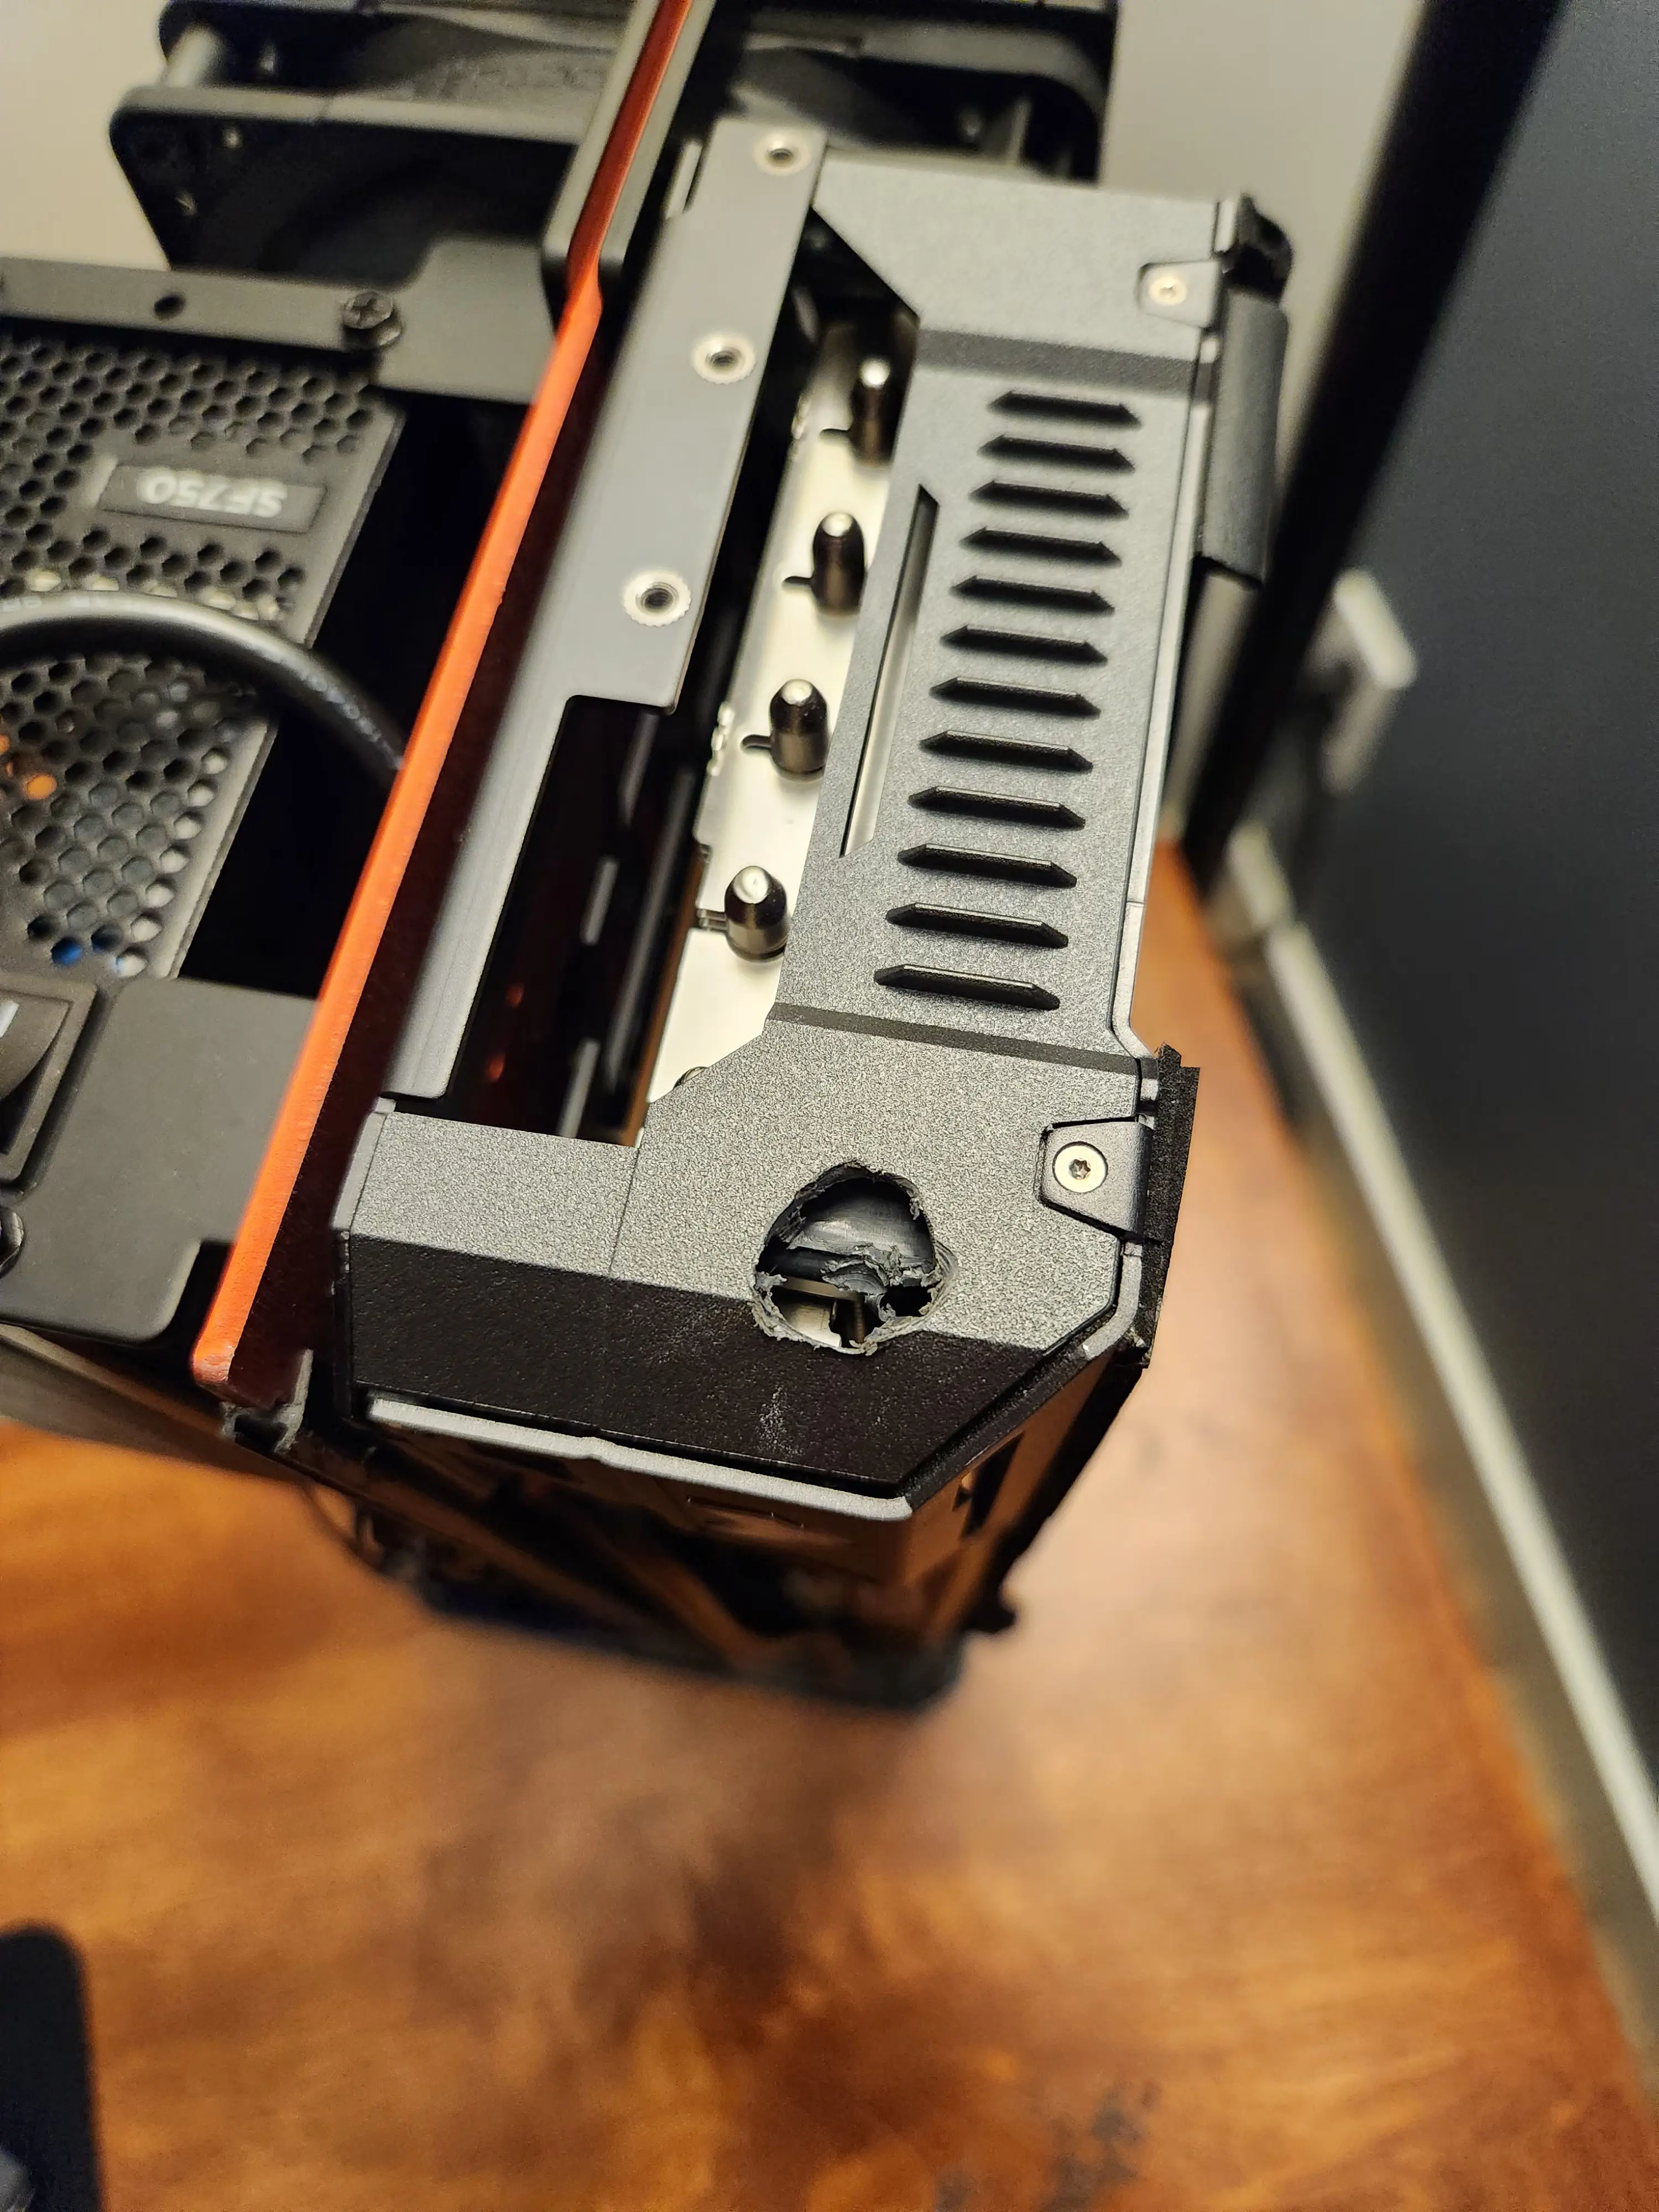
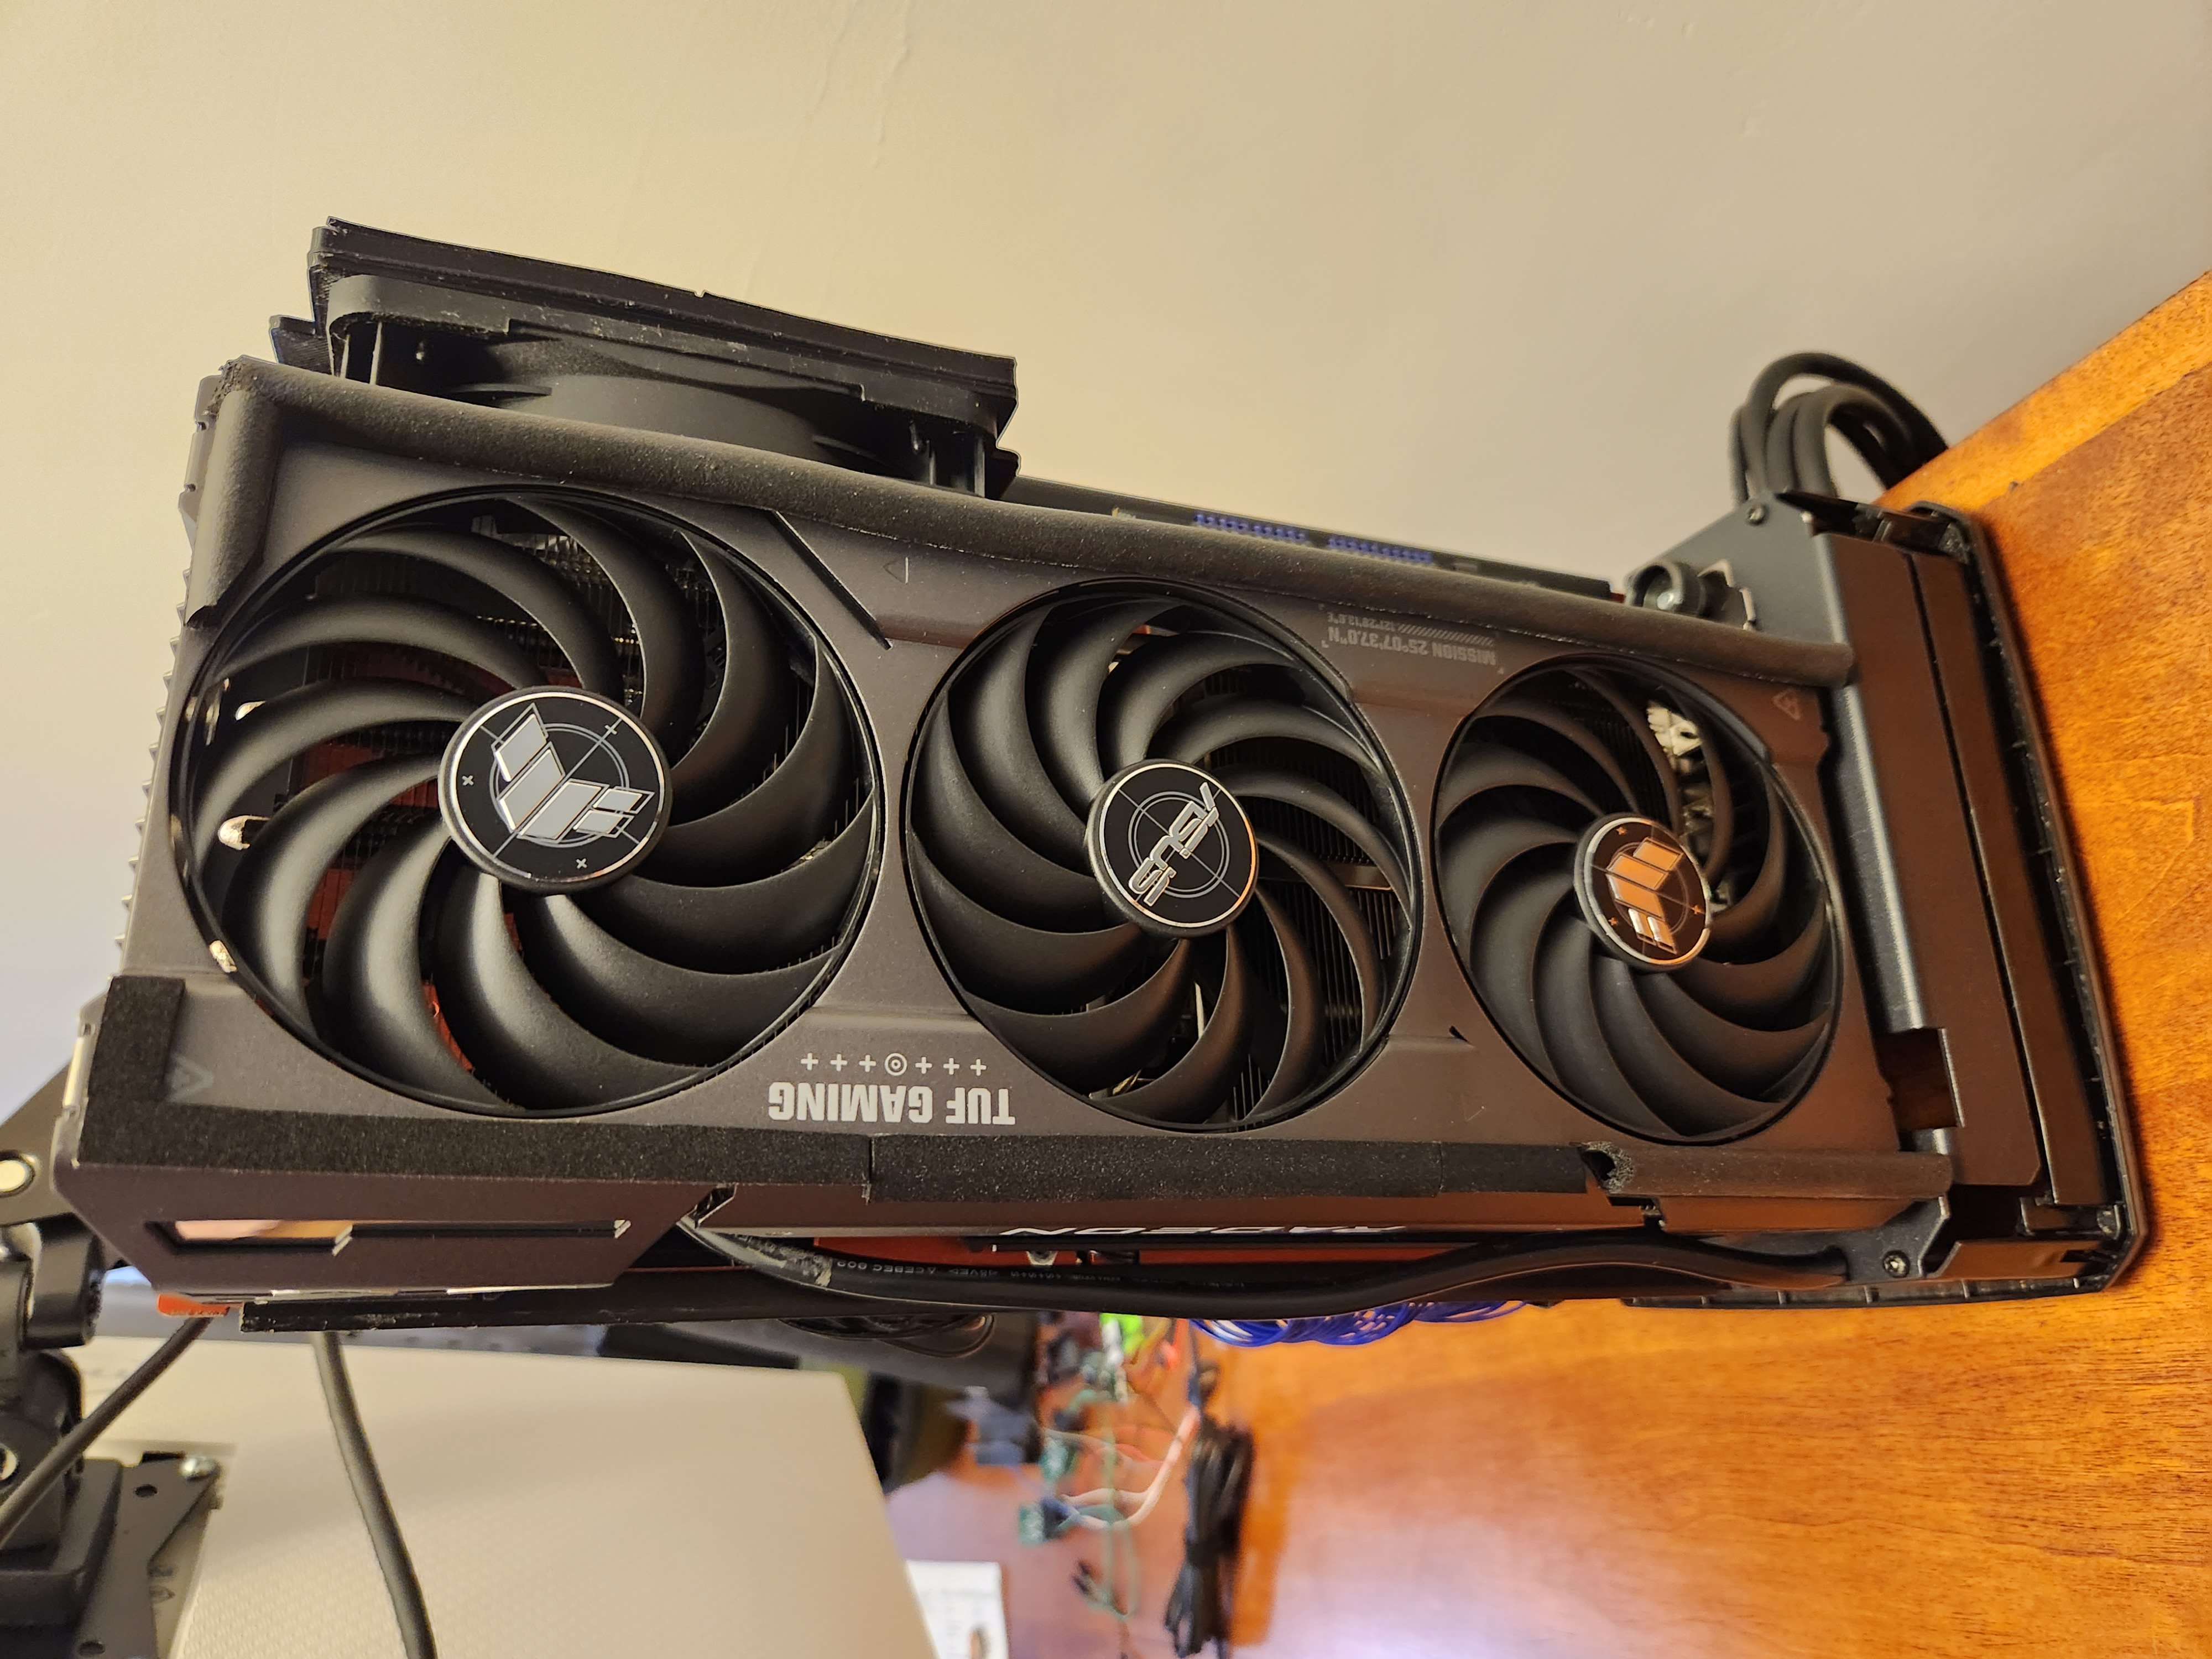
I originally built the PC when the Ryzen 7 7700X came out, intending to eventually upgrade my RX 6700XT to an RX 7700 XT. By the time I finished all the gaskets, though, only the 7800XT had come out. So I bought that insted. And a Ryzen 7 7800X3D to make the numbers match, of course. The 7800 XT is so big, only one model fit inside the case and also had the 3 DisplayPort connections I needed for my monitors - the ASUS TUF Gaming. Unfortunately, it didn’t actually fit. It was just a tiny bit too tall, and one of the mounts for the top plate screws would hit the top of the GPU. I put a big, ugly hole in the GPU shroud to make it work. Par for the course when it comes to high performance SFF builds, I guess. You can’t see it anyway.
Another easy mod I applied to the GPU was putting some weather stripping and foam all around the shroud to help seal it to the shell. This helps it draw cool air in from the outside instead of circulating hot air from inside.
Cutting a Very Ugly Hole in an Otherwise Very Nice GPU
Foam to Seal the GPU Intake
Thermal and Acoustic Performance
With all of this effort, how does it actually perform? I’m happy to say, the answer is: quite well.
My final build is:
- CPU: Ryzen 7 7800X3D
- Heatsink: Shadow Rock LP
- Heatsink Fan: Noctua NF-A12x25 @ 30% idle, 50% load
- GPU: Radeon RX 7800 XT (90% clock speed, 95% voltage, 30% max fan peed)
- Exhaust Fan: Noctua NF-A12x25 @ 40% idle, 60% load
Thermal Performance
- Ambient: 22C
- CPU (Cinebench Single Core): 65C
- CPU (Cinebench Multi Core): 88C
- GPU (Furmark): 57C (74C Hotspot)
Acoustic Performance
- Ambient Noise: 35dB
- Idle Noise: 35dB
- Load Noise: 43dB
I spent some time tweaking the fan curves so that the PC is completely inaudible when idle, and barely noticeable under load when I have headphones on. The GPU is undervolted slightly, but it doesn’t make a significant impact on performance or noise. Overall, I’m quite happy with the result.
Conclusion
I’m never doing this again! It was an enormous amount of work, and for the entire 15 months I worked on this project, my desk and office were a total mess. If I ever get a new case, it will definitely be one that has solid thermal performance out of the box. That being said, I learned a ton about 3D printing, 3D design, thermophysics, acoustics, and more. Despite the challenge, I still think the Louqe RAW S1 is the best looking case of its class, and I’m glad I was able to get it to a point where it performs well in every way.
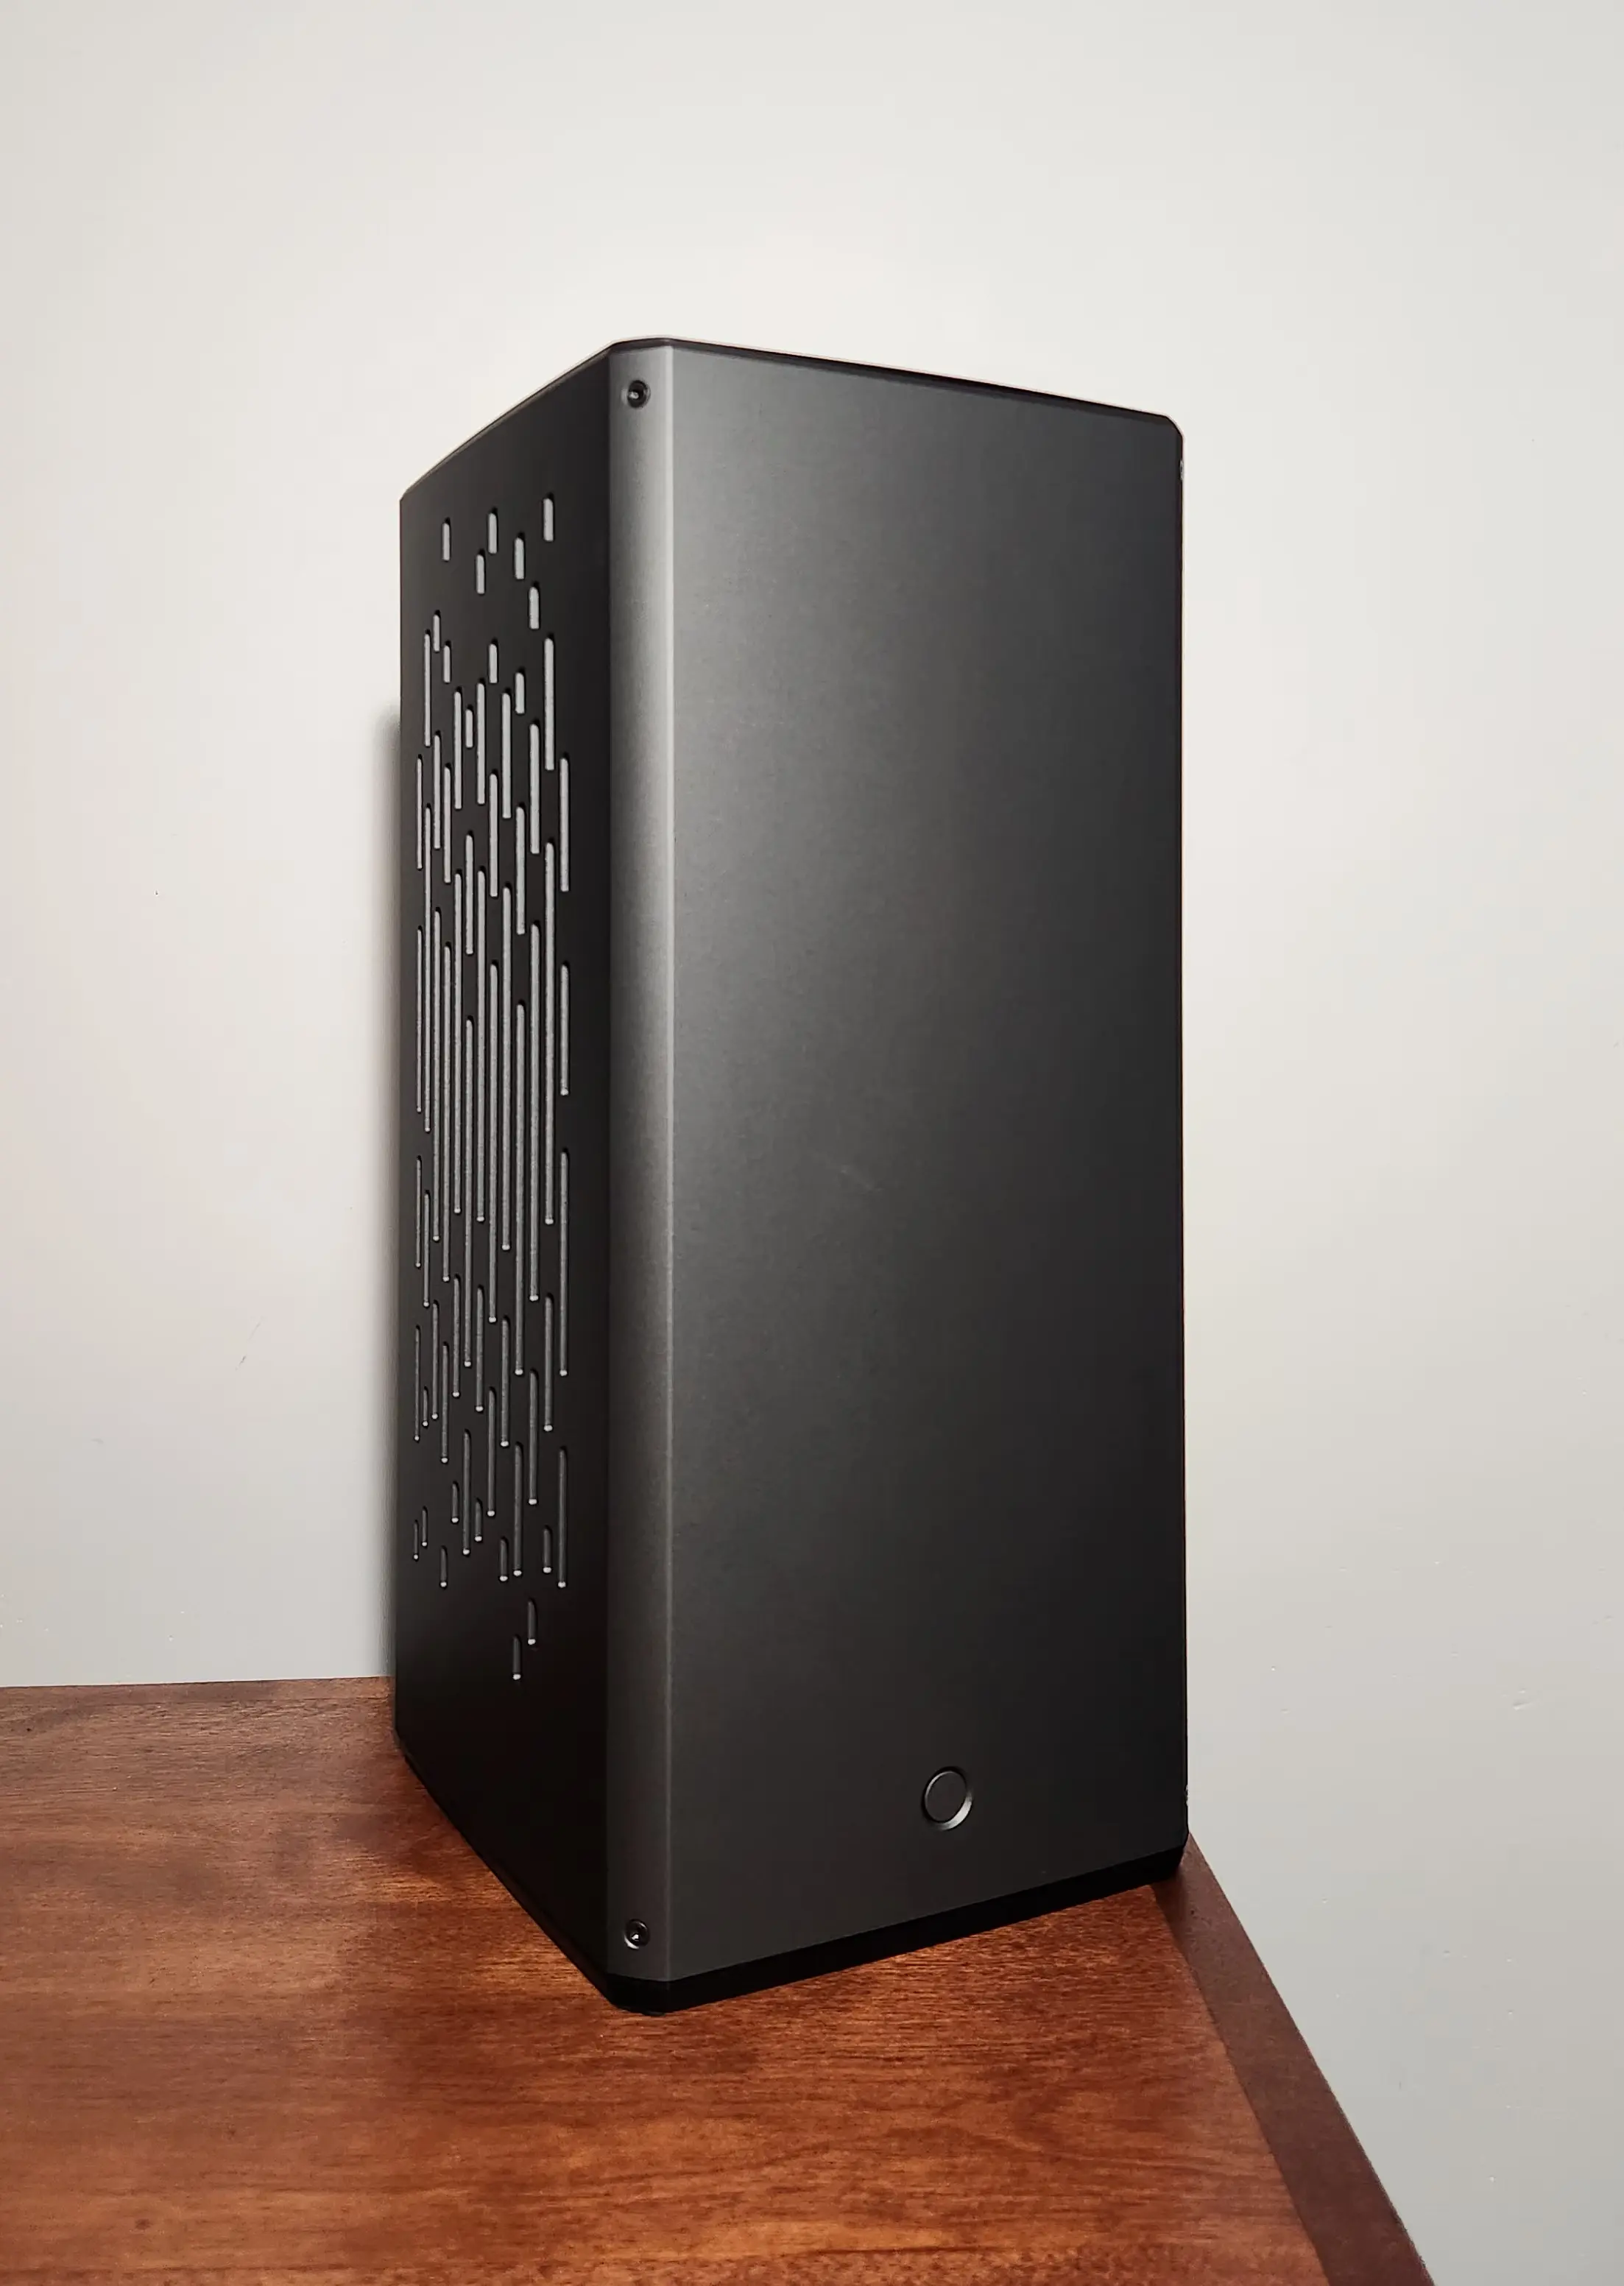
It's finally done!
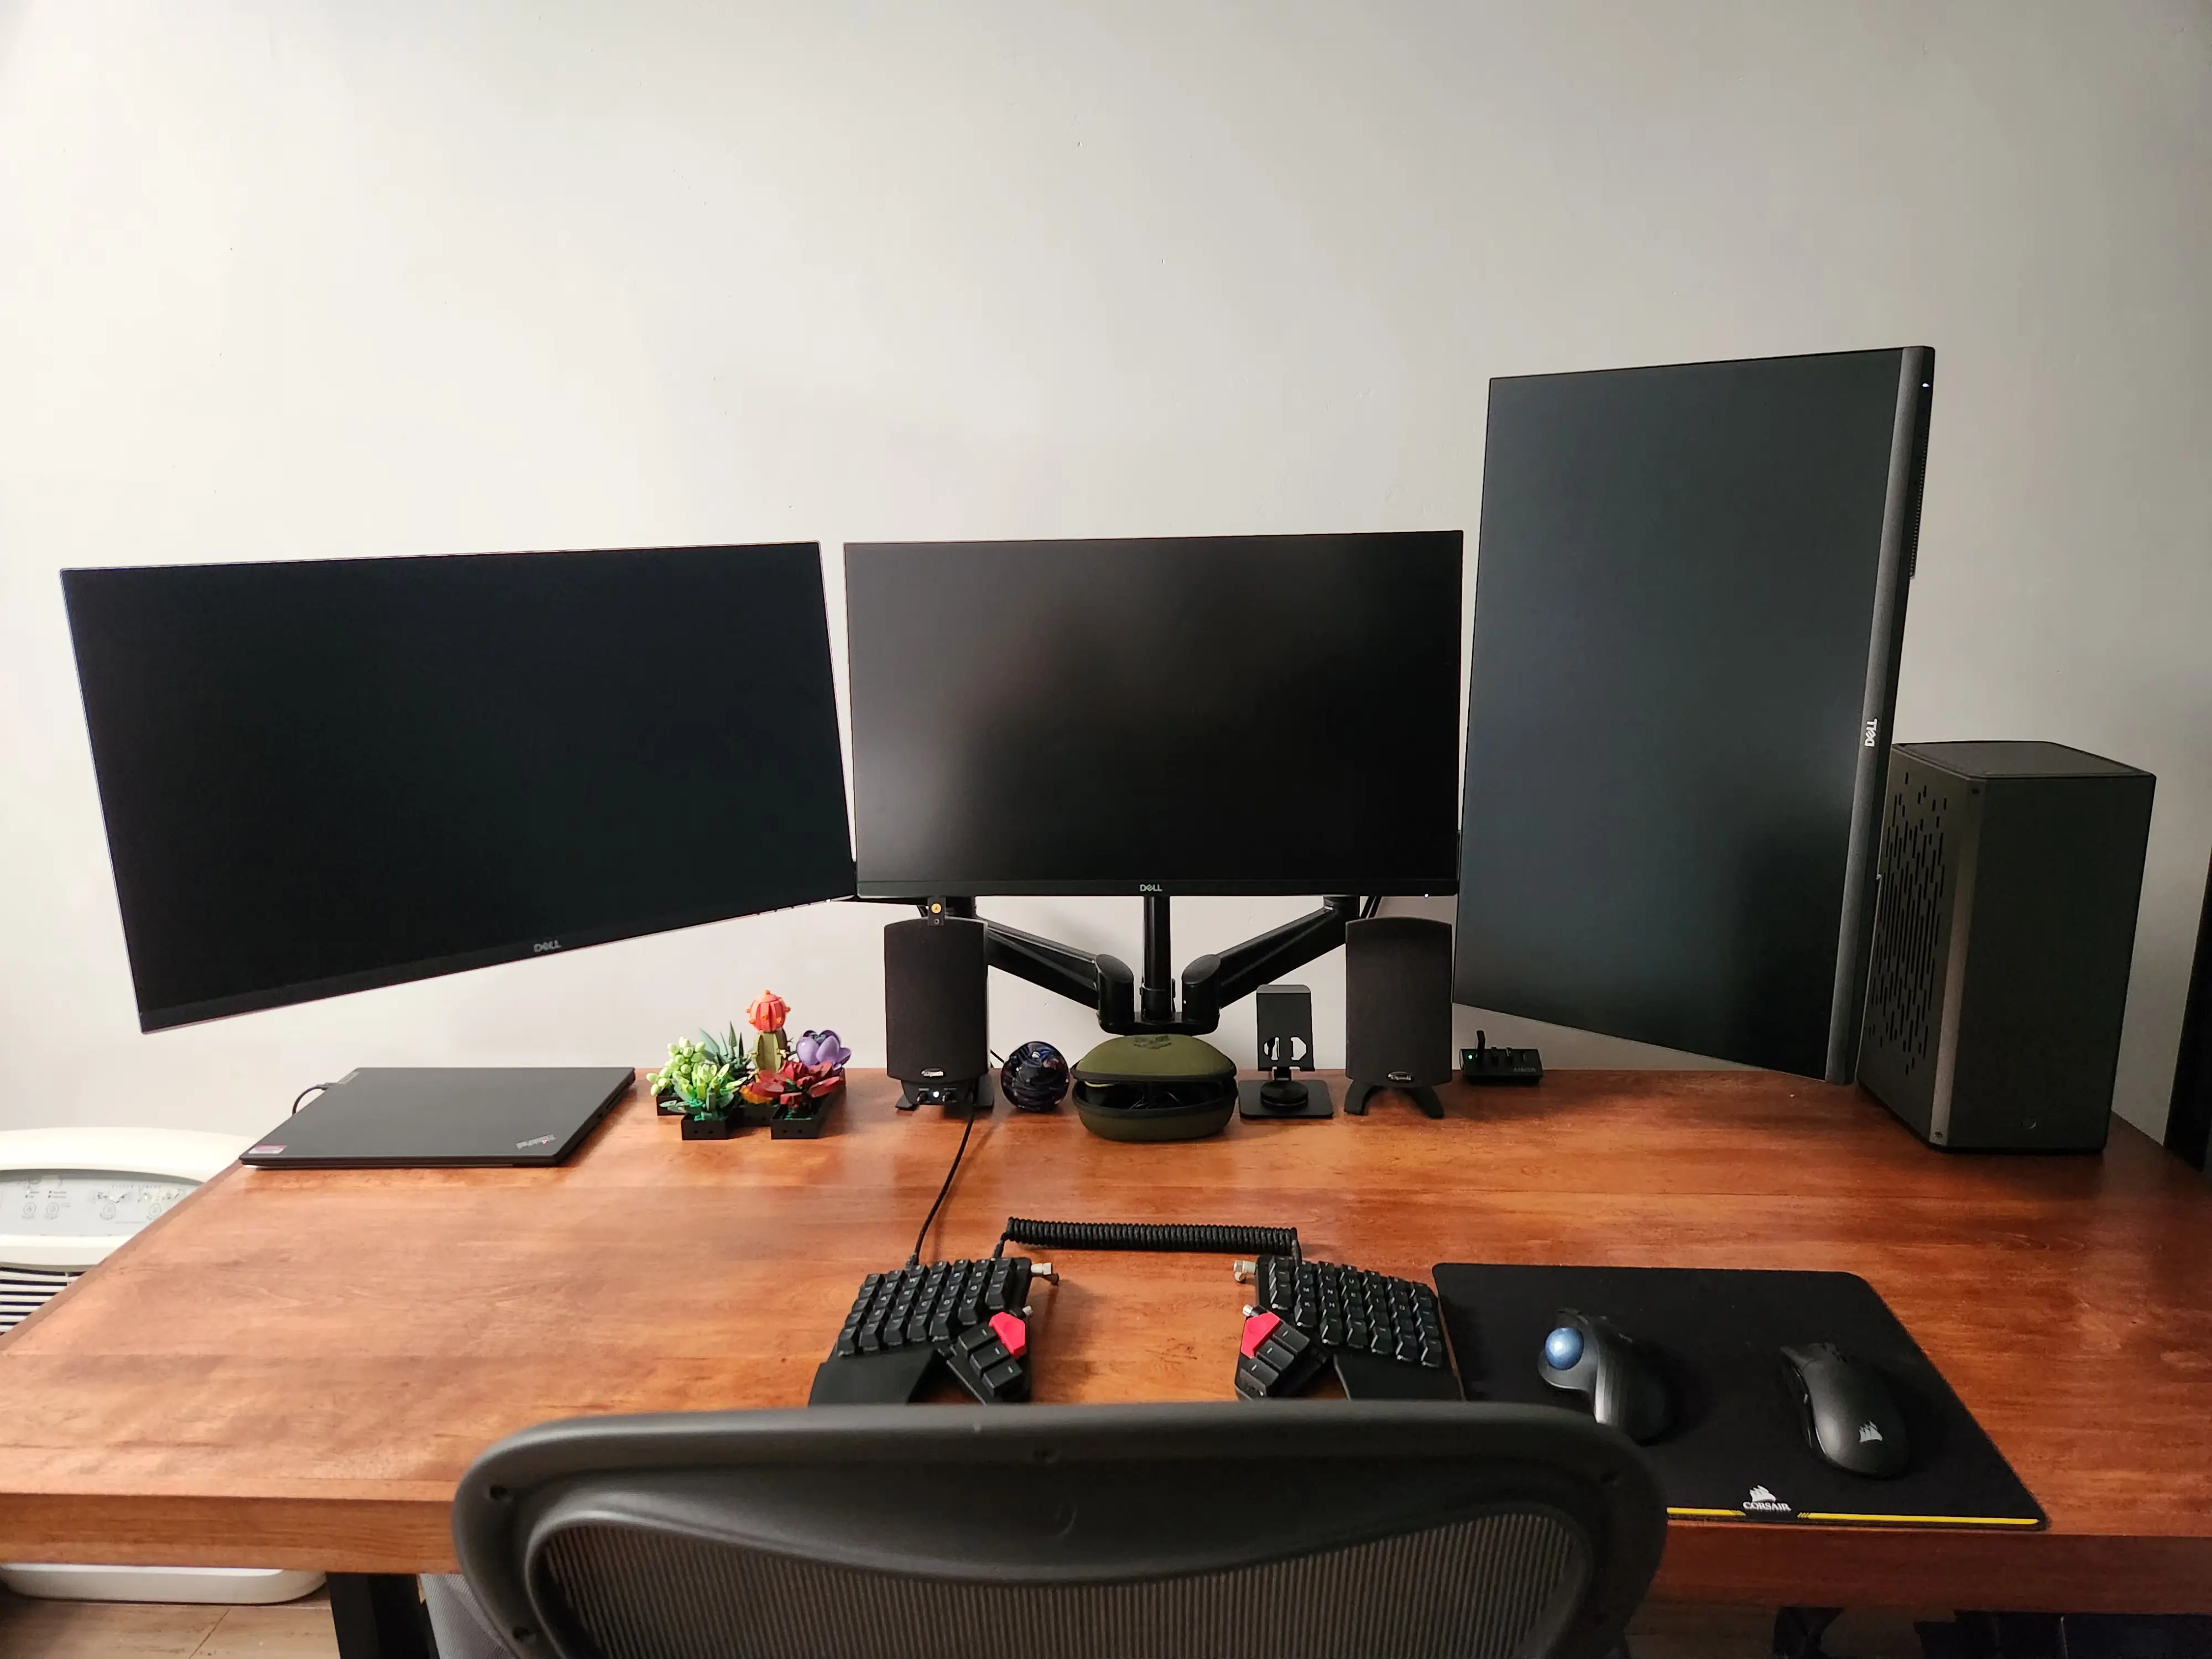
Bonus battle station pic